AS WELL AS PHOTOGRAPHING AND PRINTING MY WORK, I ALSO HAND MAKE THE FRAMES.
SO, I THOUGHT I WOULD TRY TO SHOW YOU THE PROCESS OF HOW I DRY MOUNT ONE OF MY FINE ART PRINTS AND PREPARE IT FOR FRAMING...
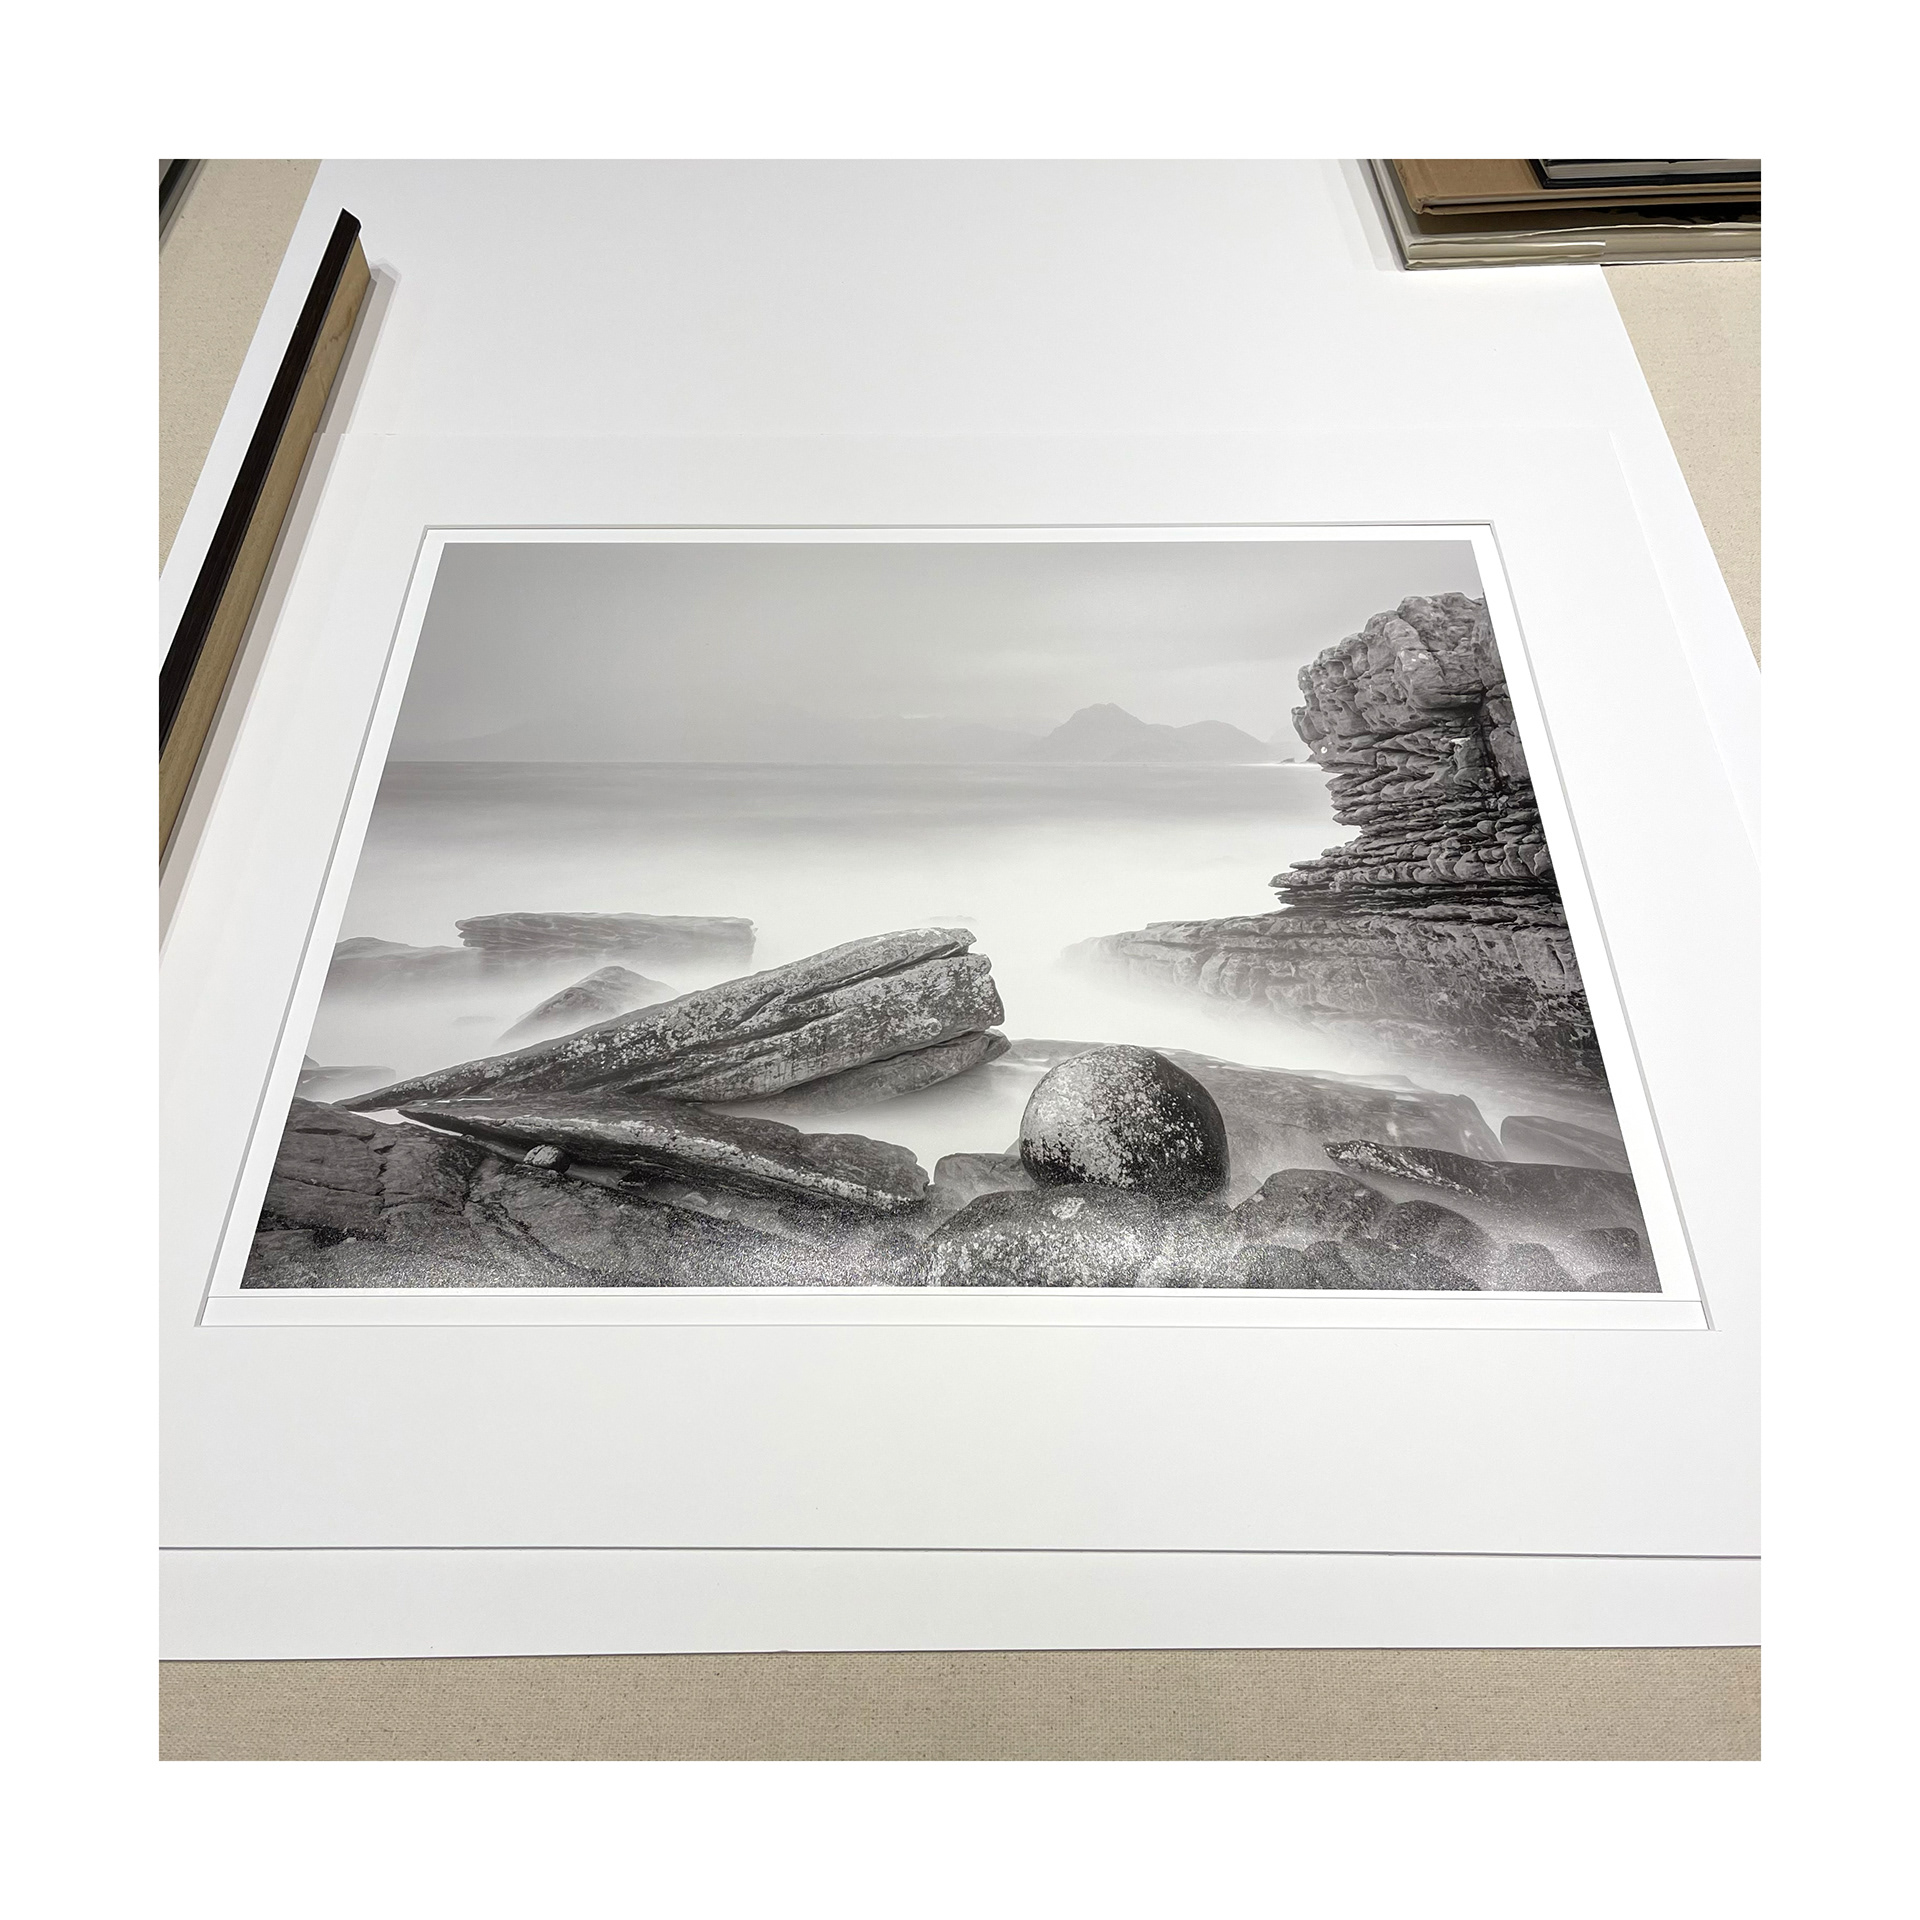
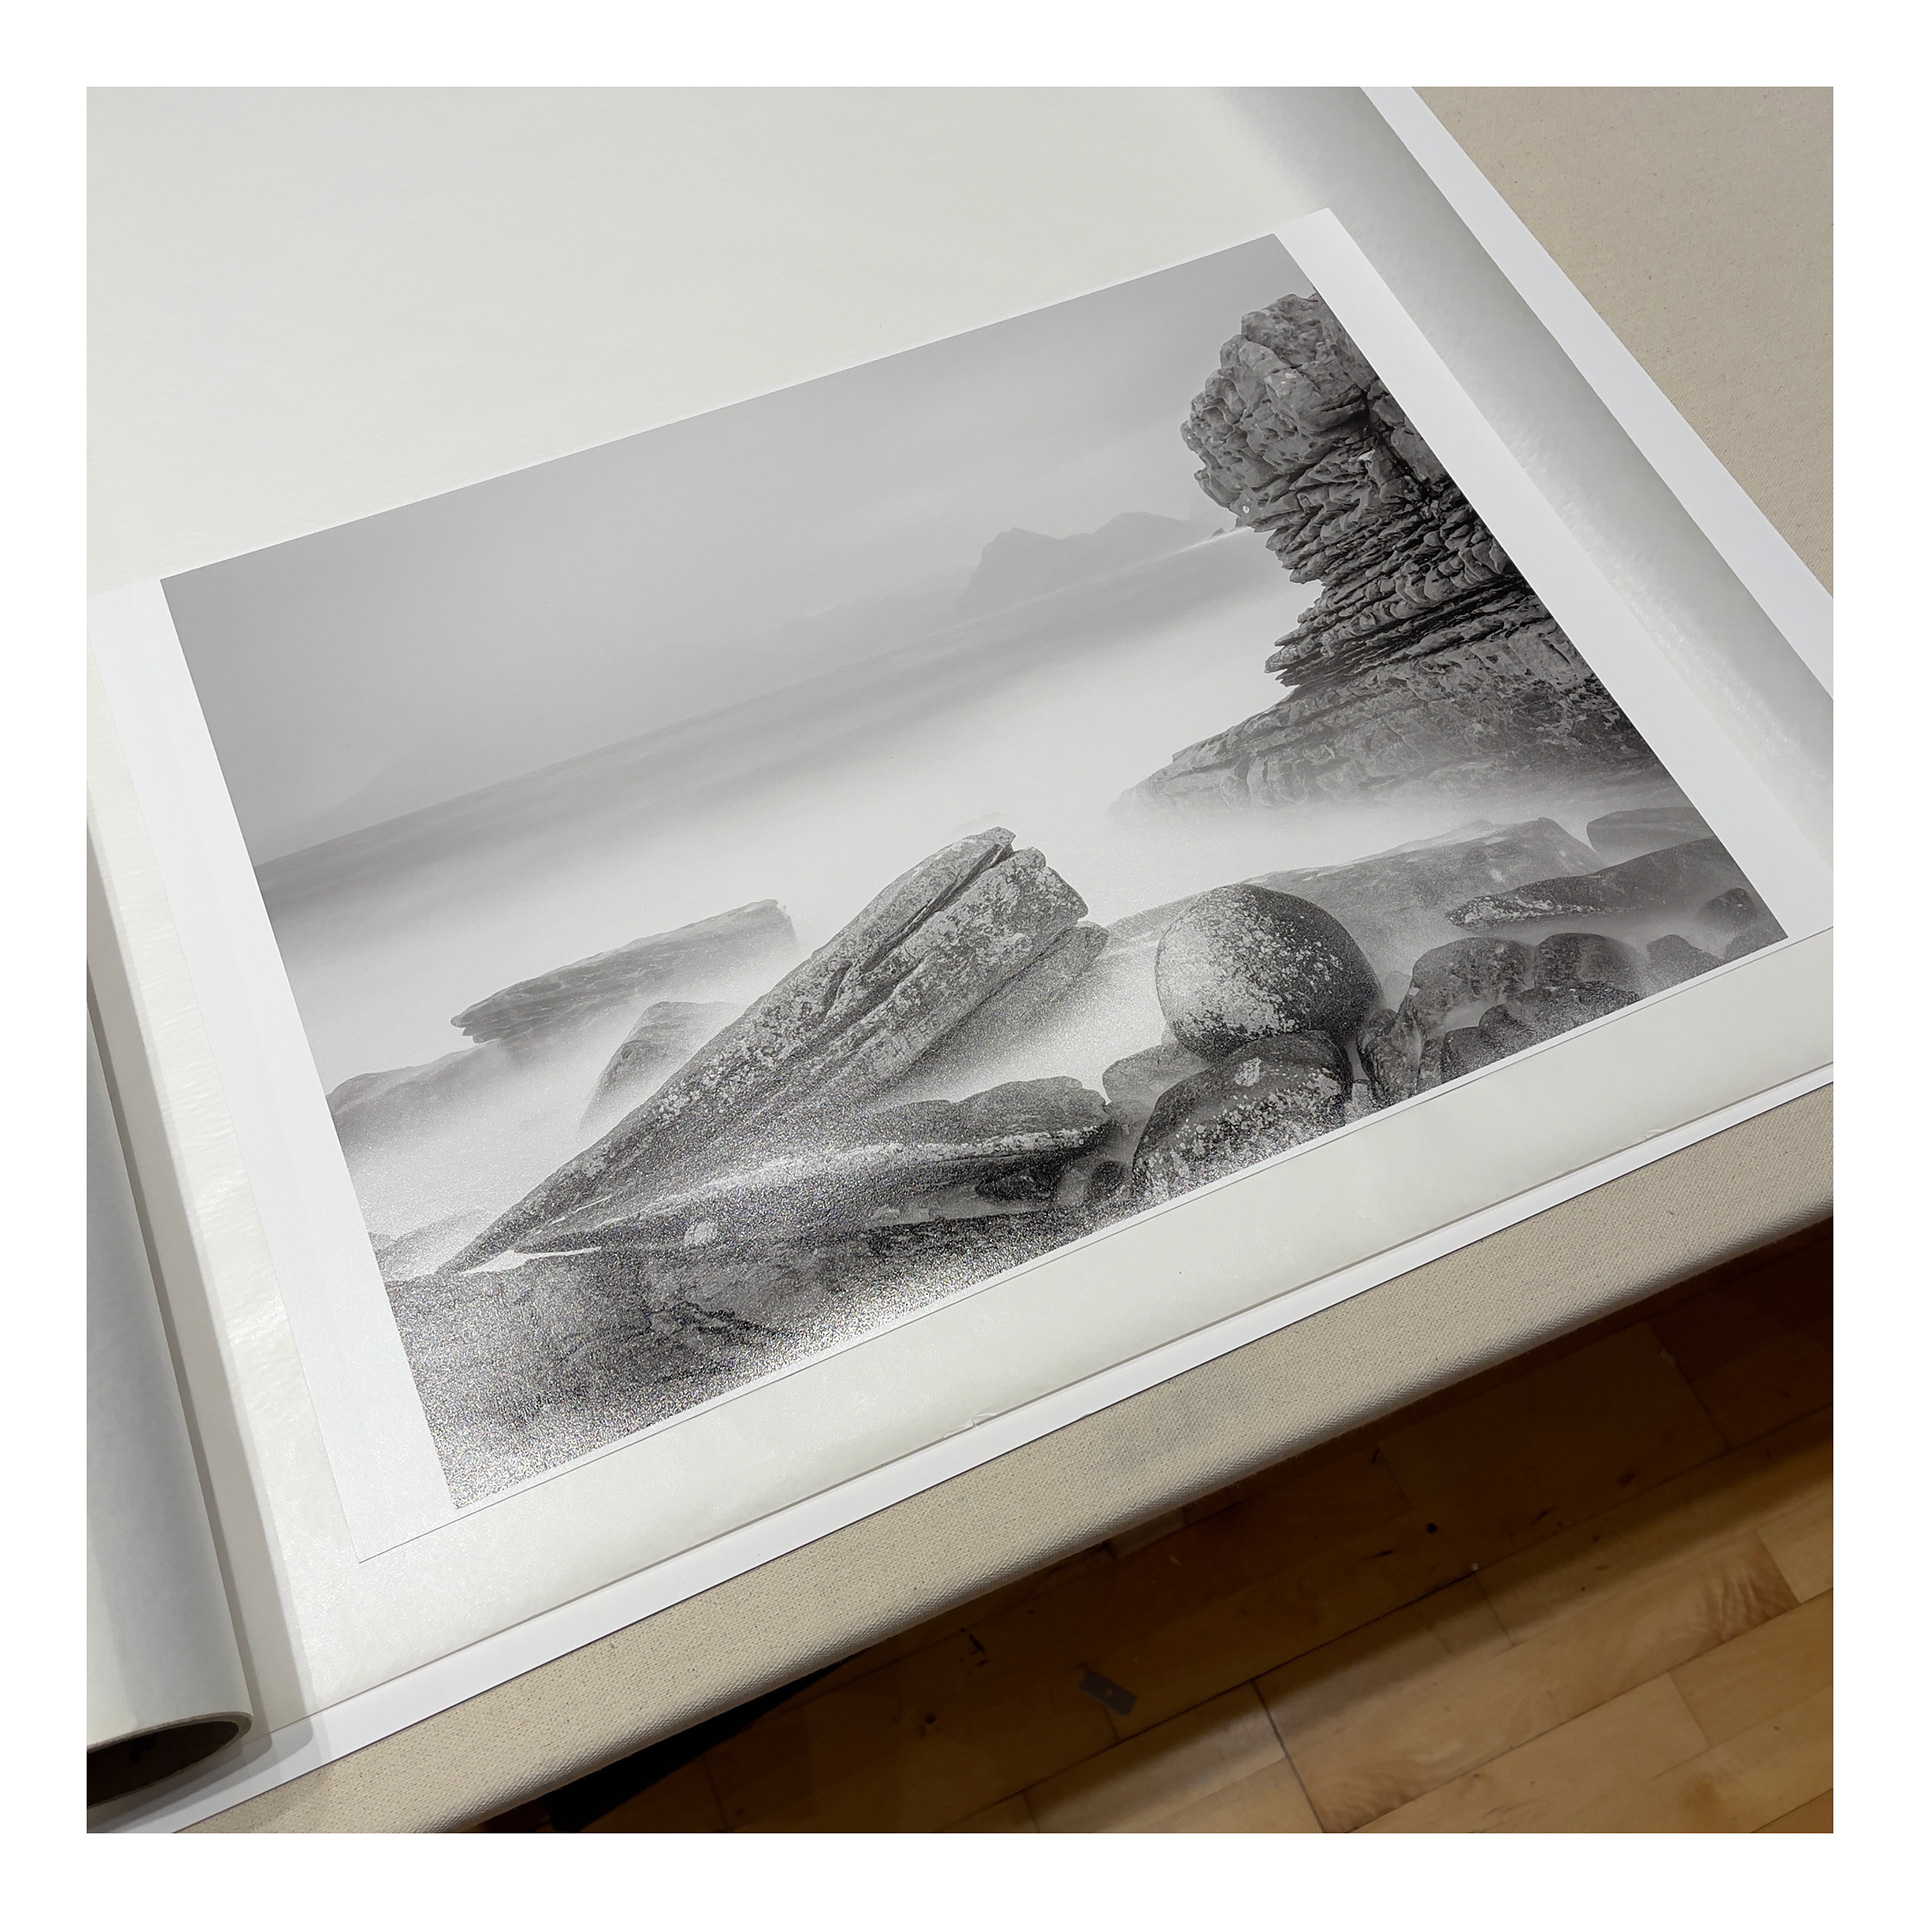
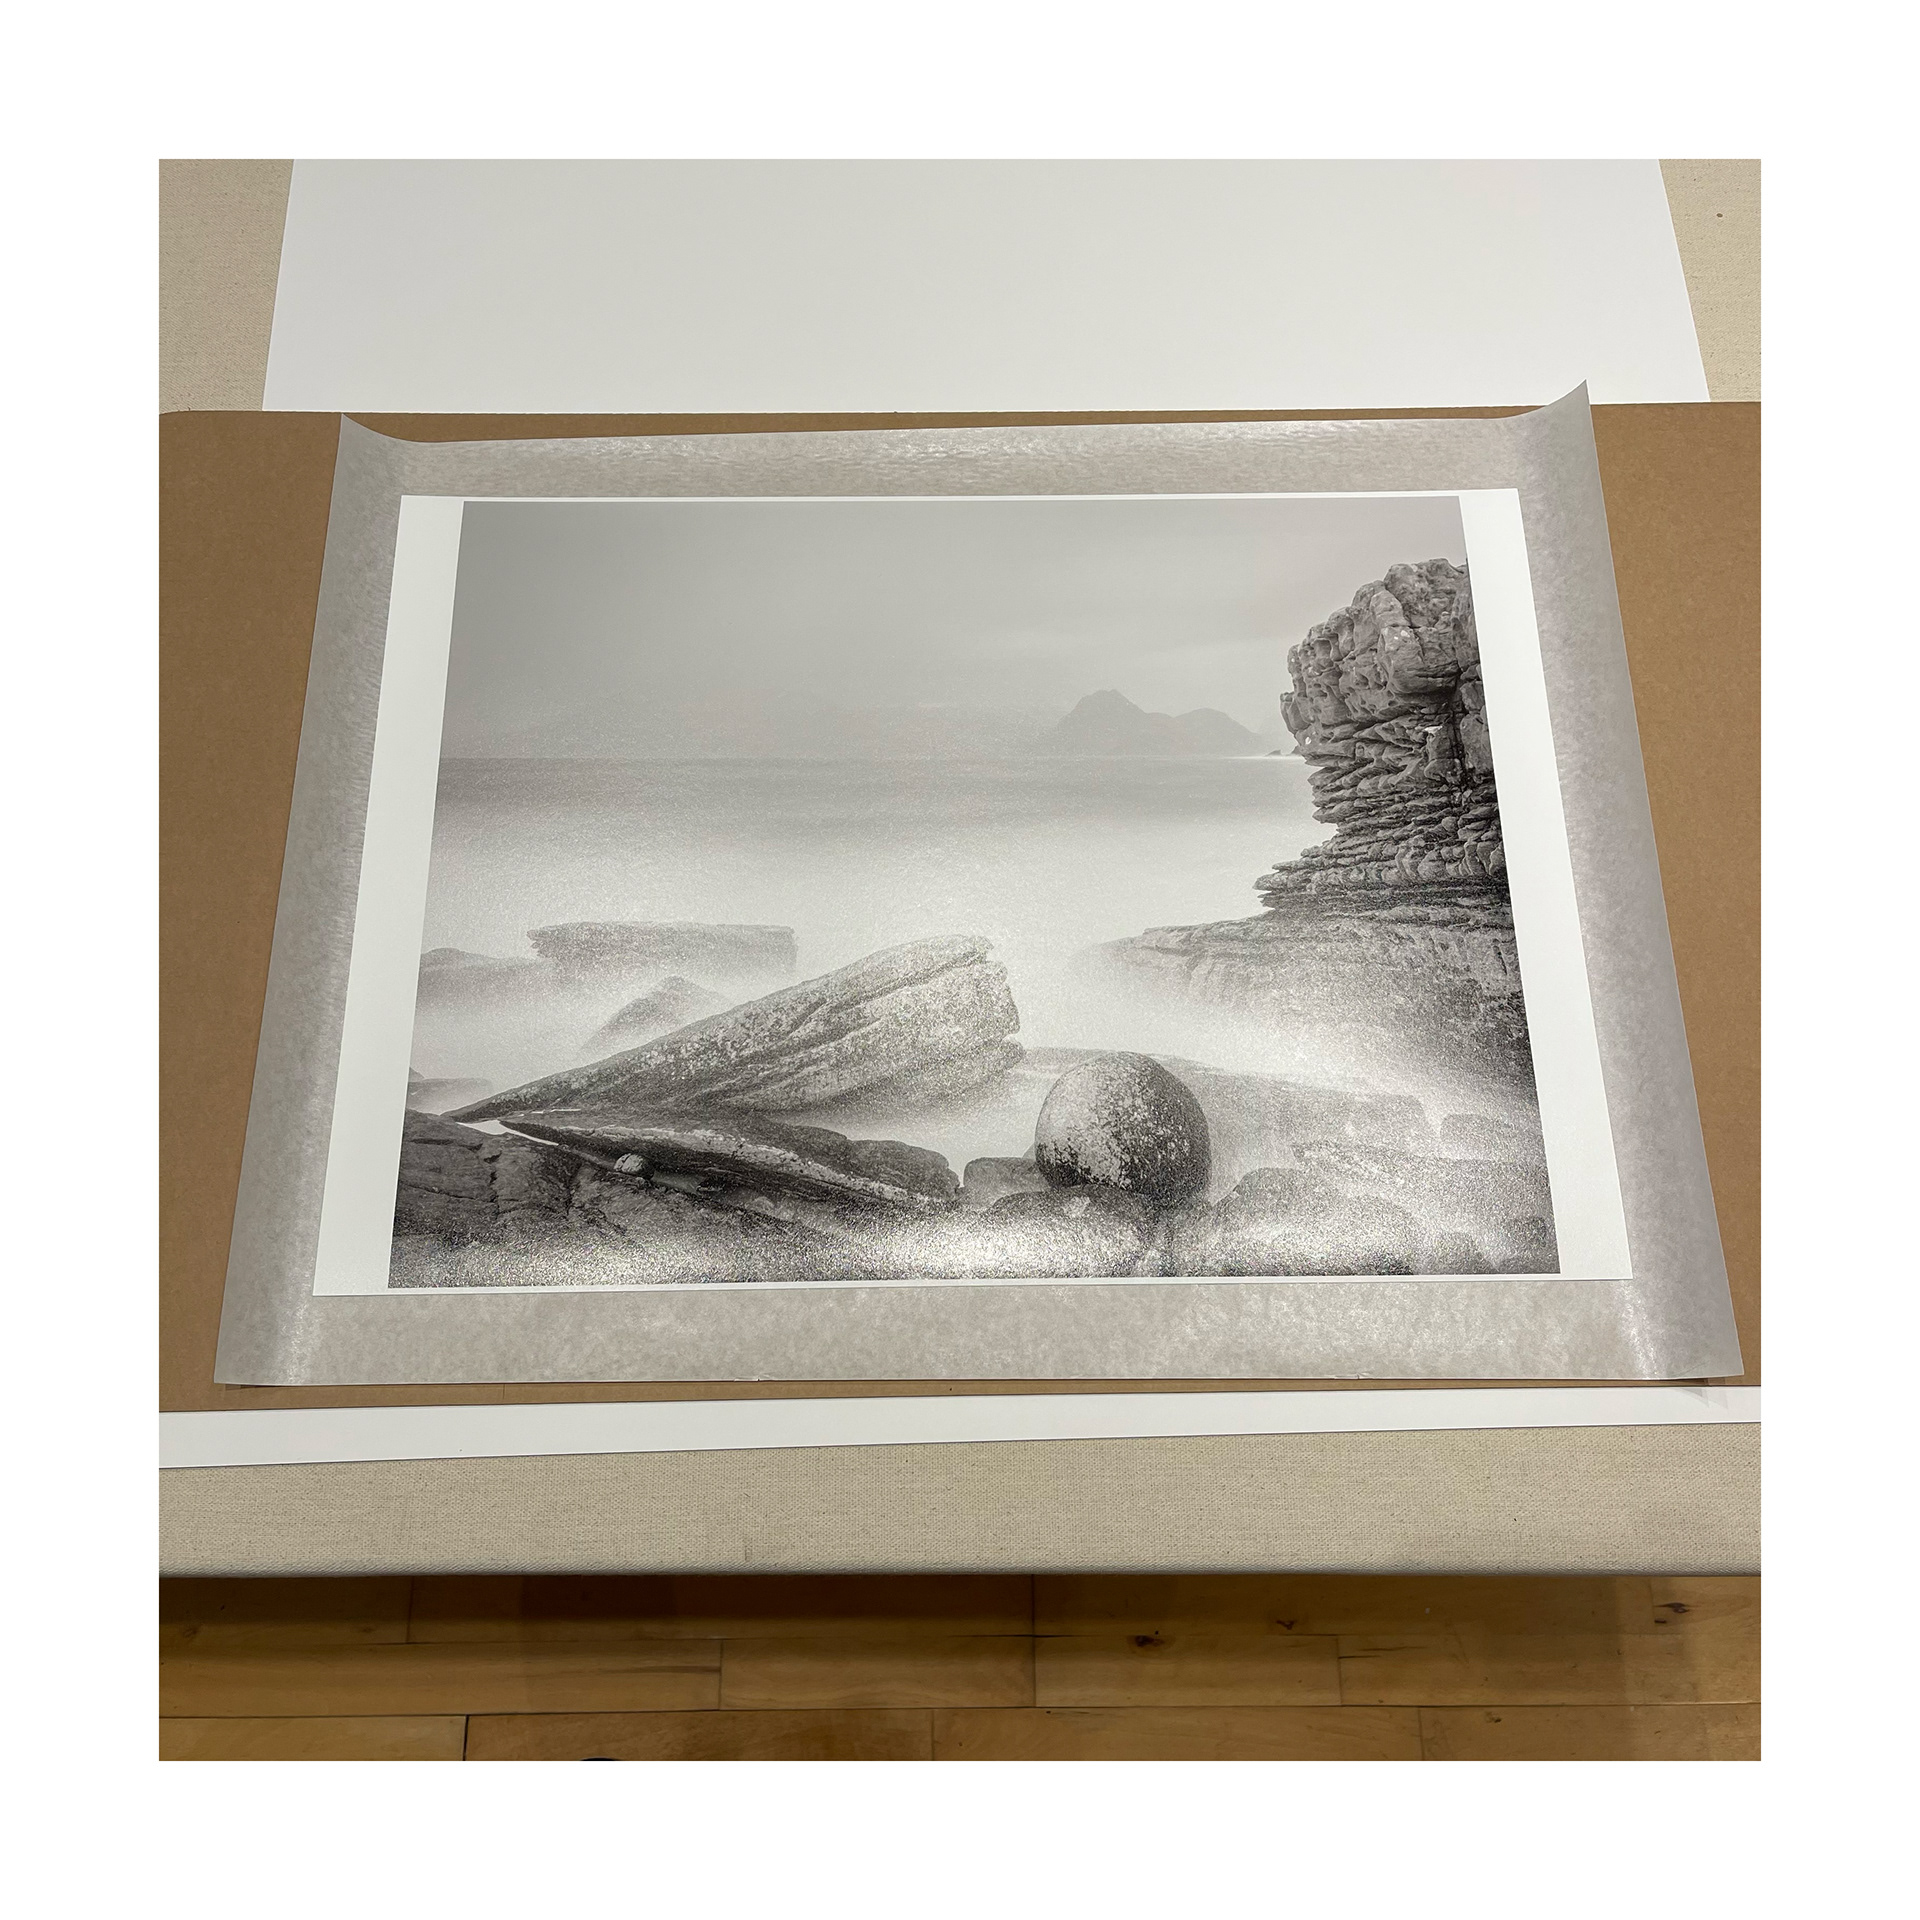
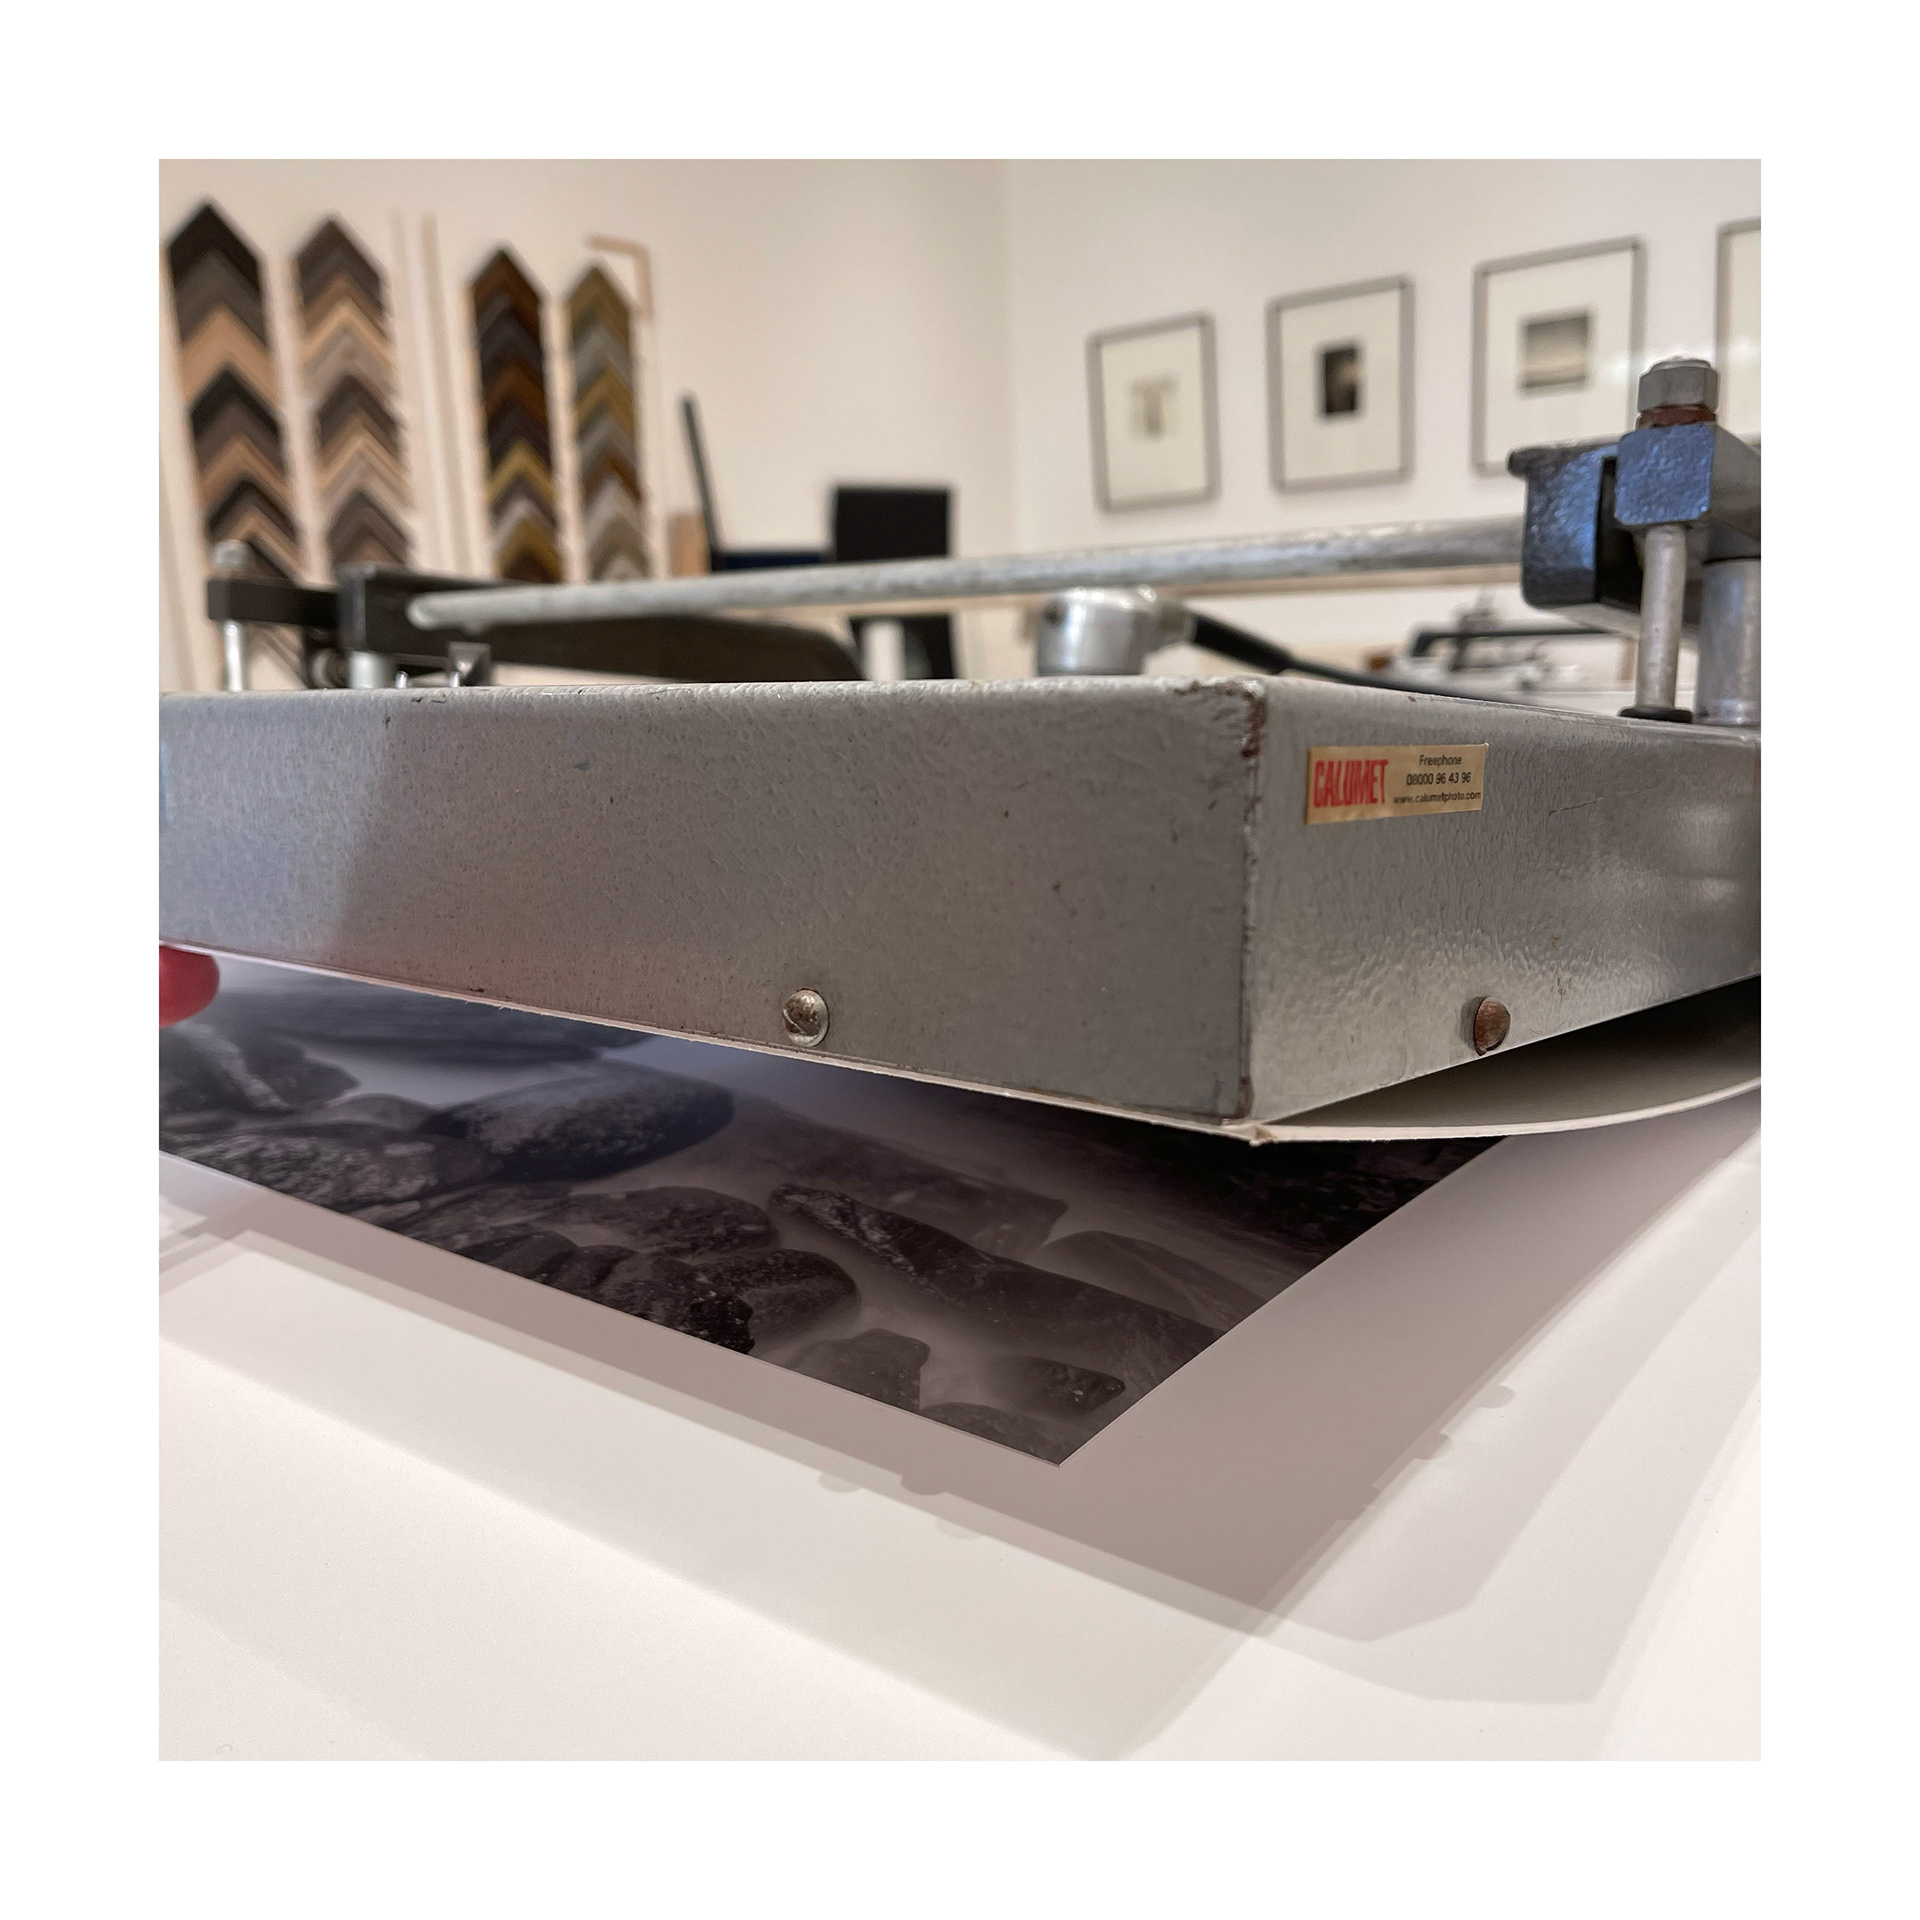
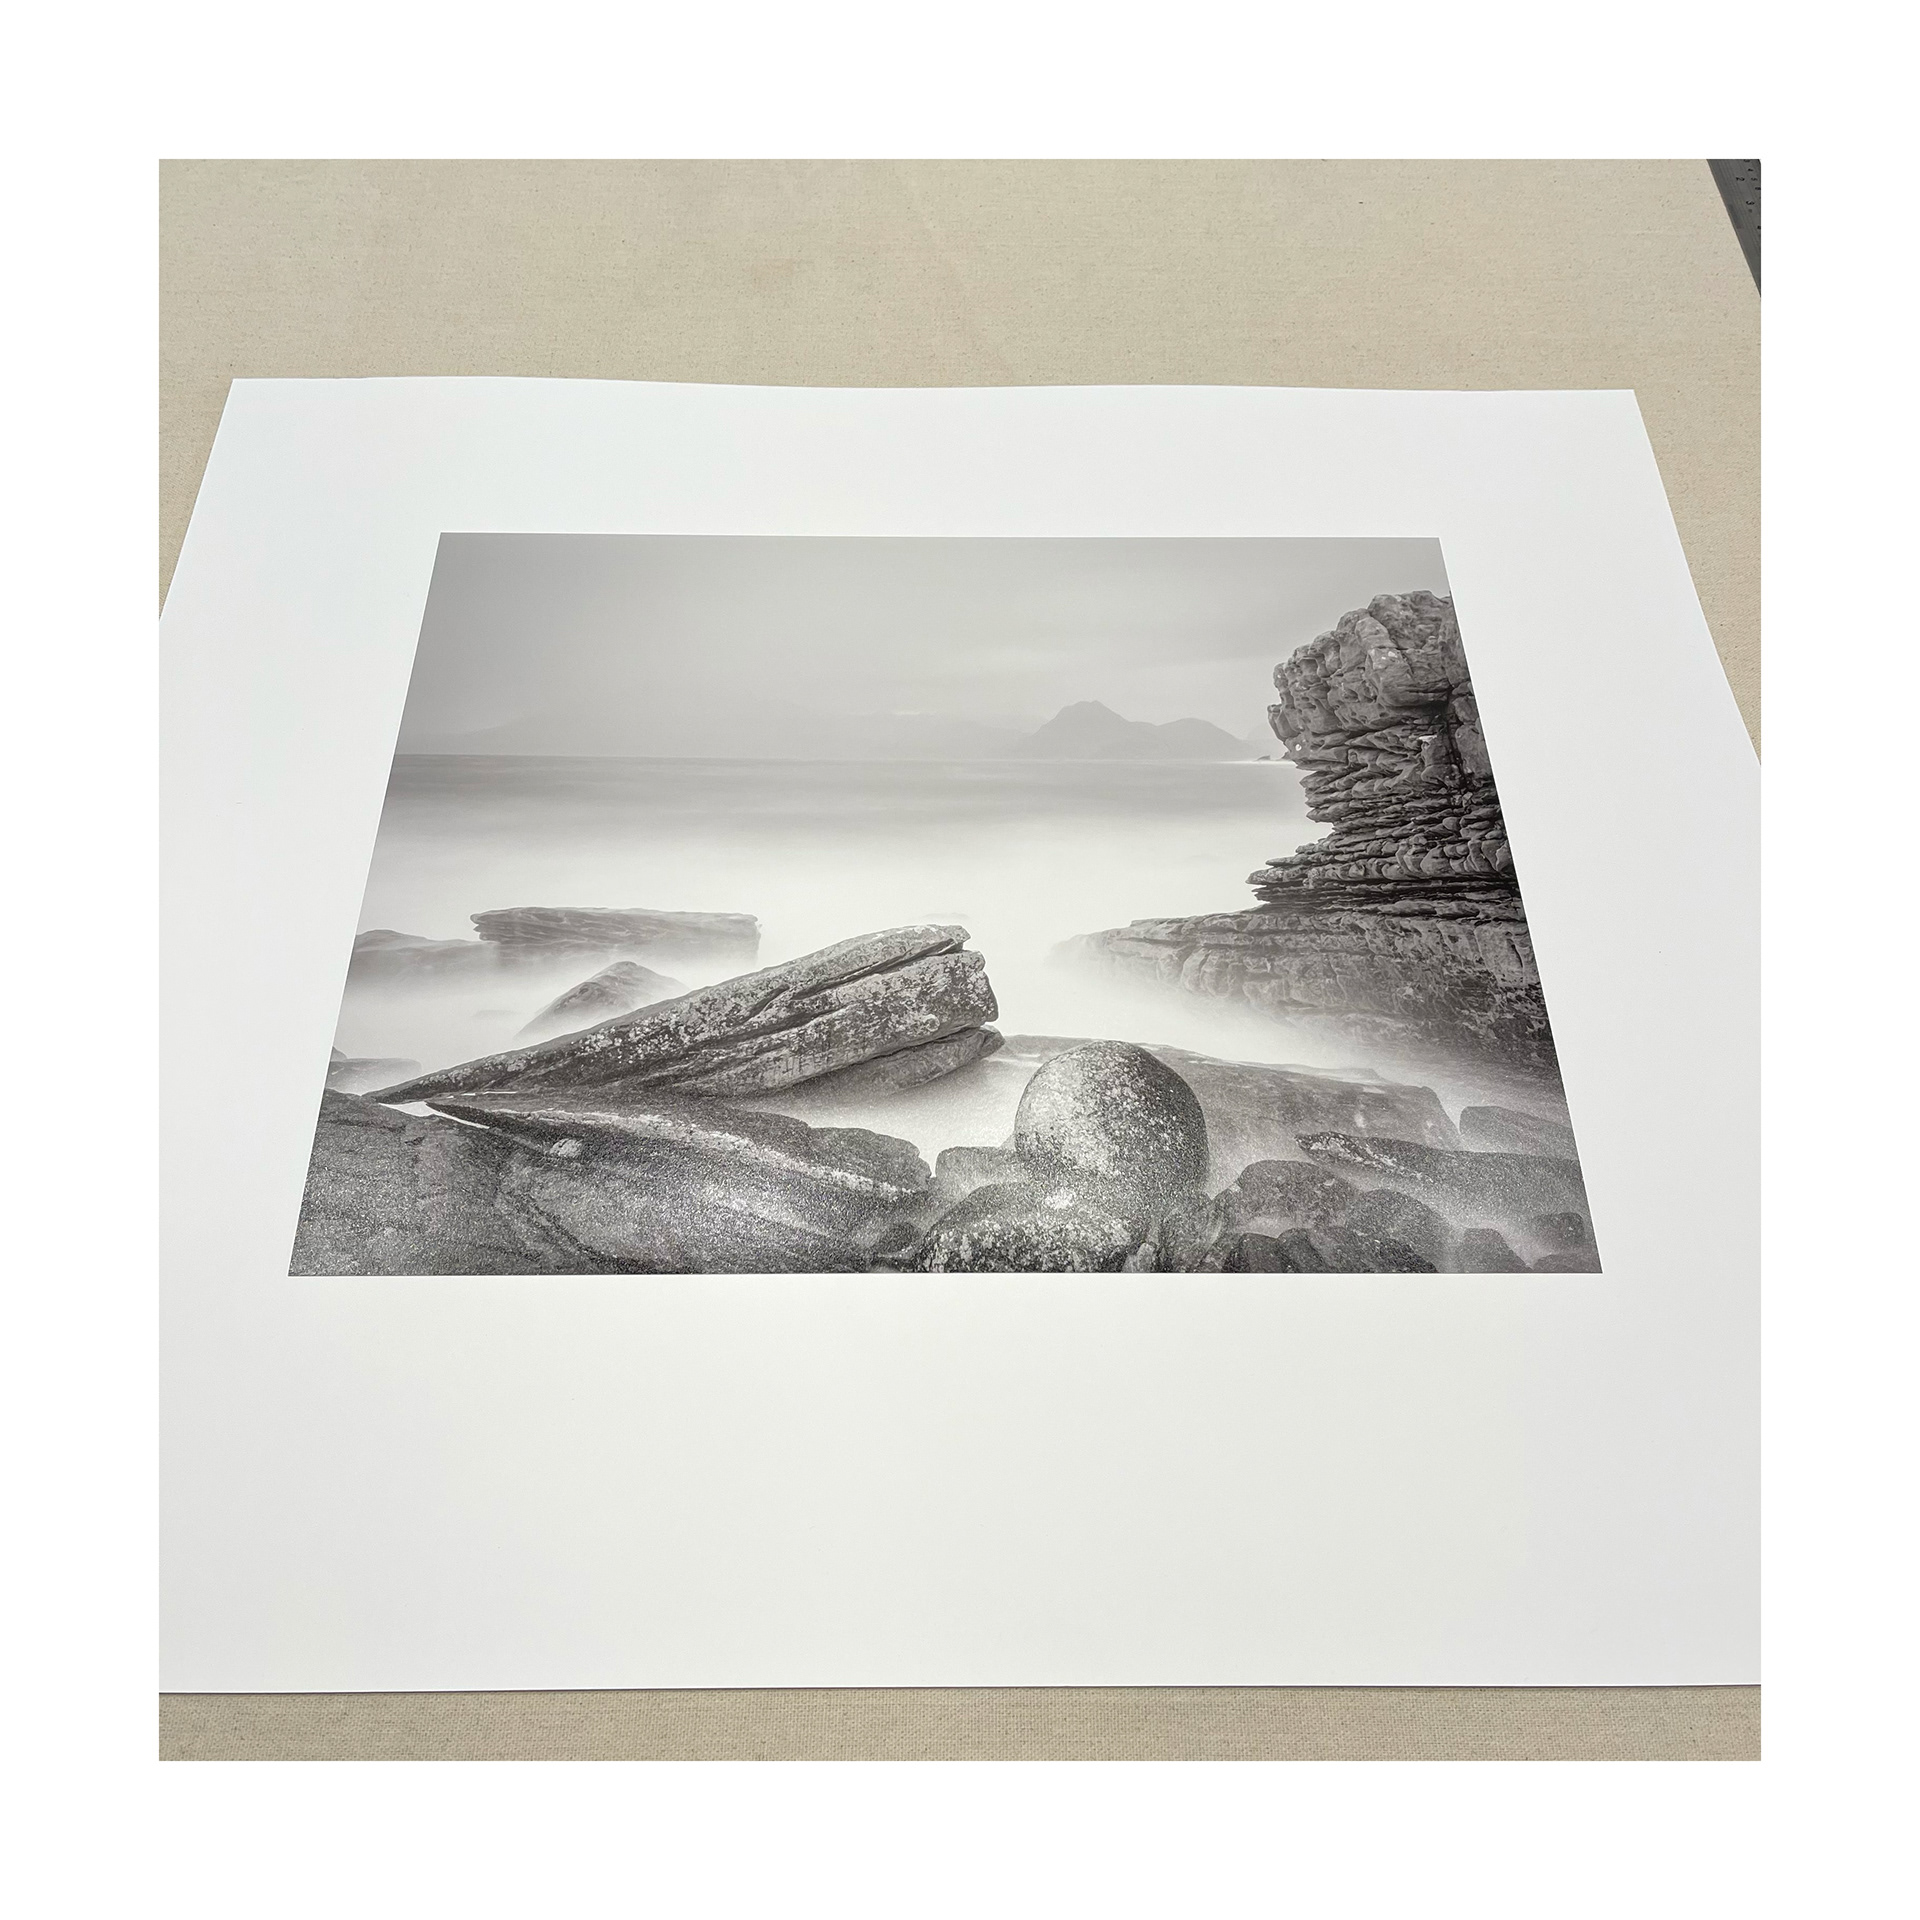
Here I'm just aligning everything up. The print is still in its original form and the mount has been cut.
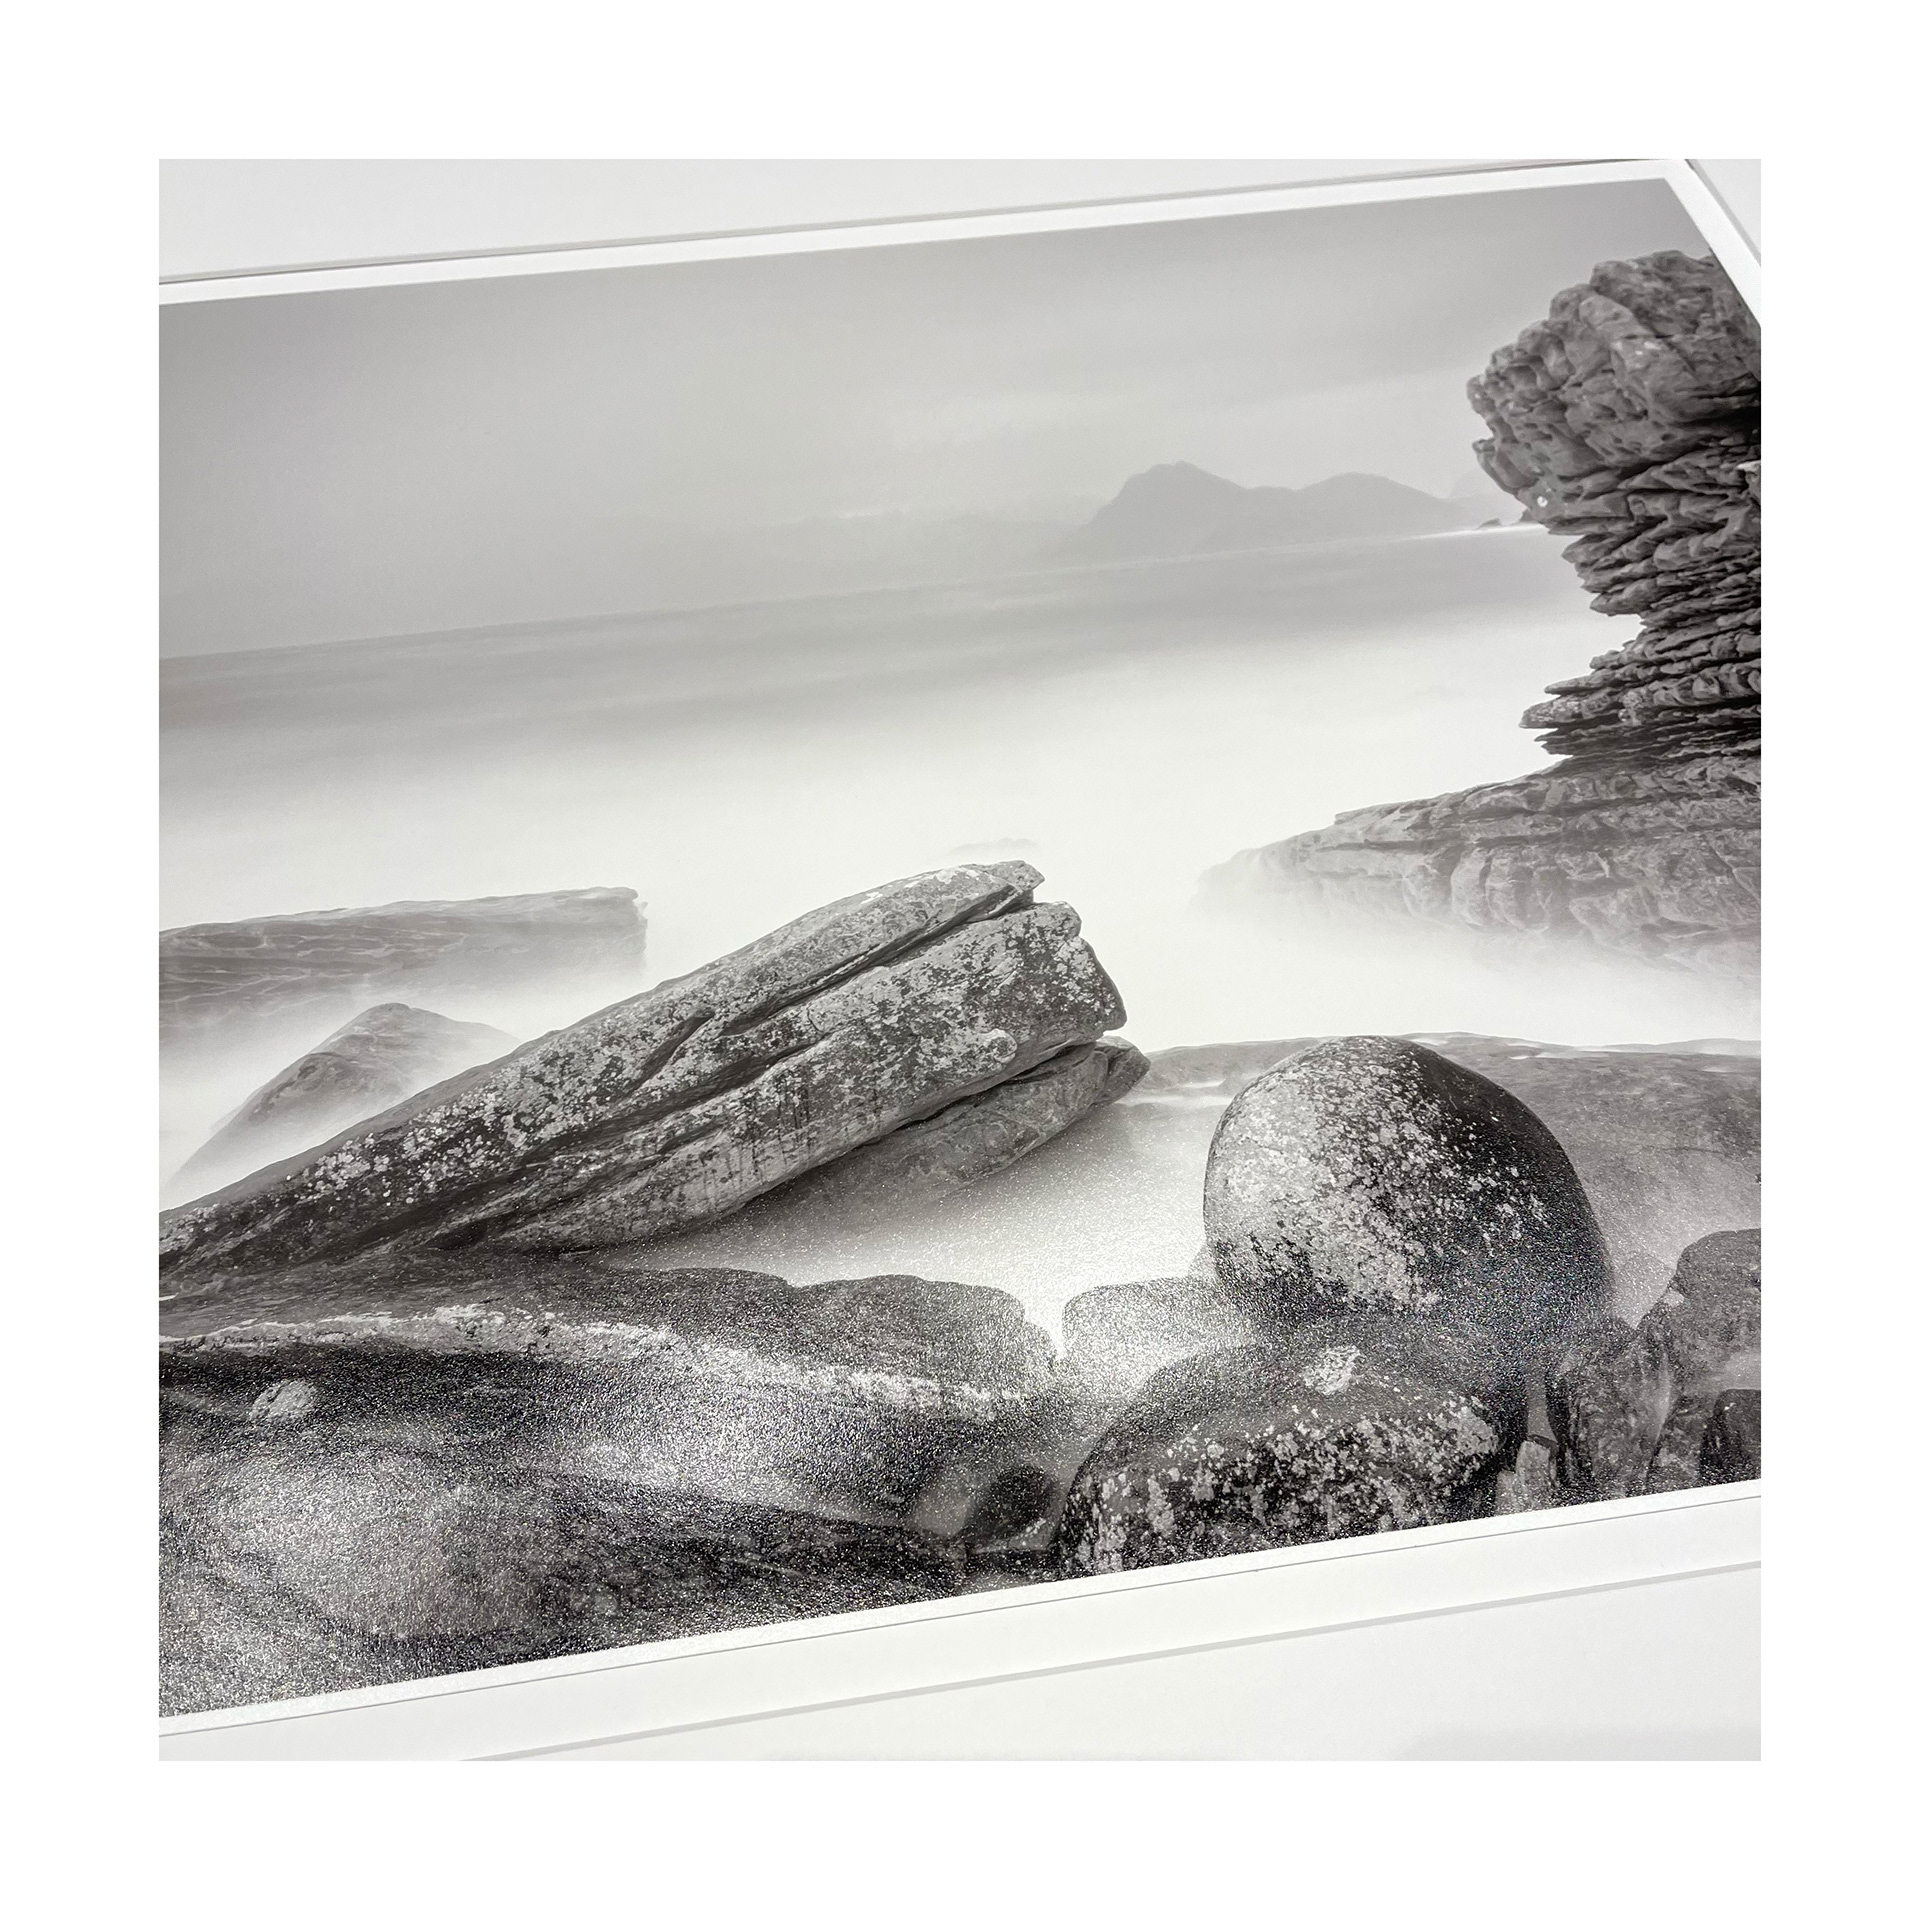
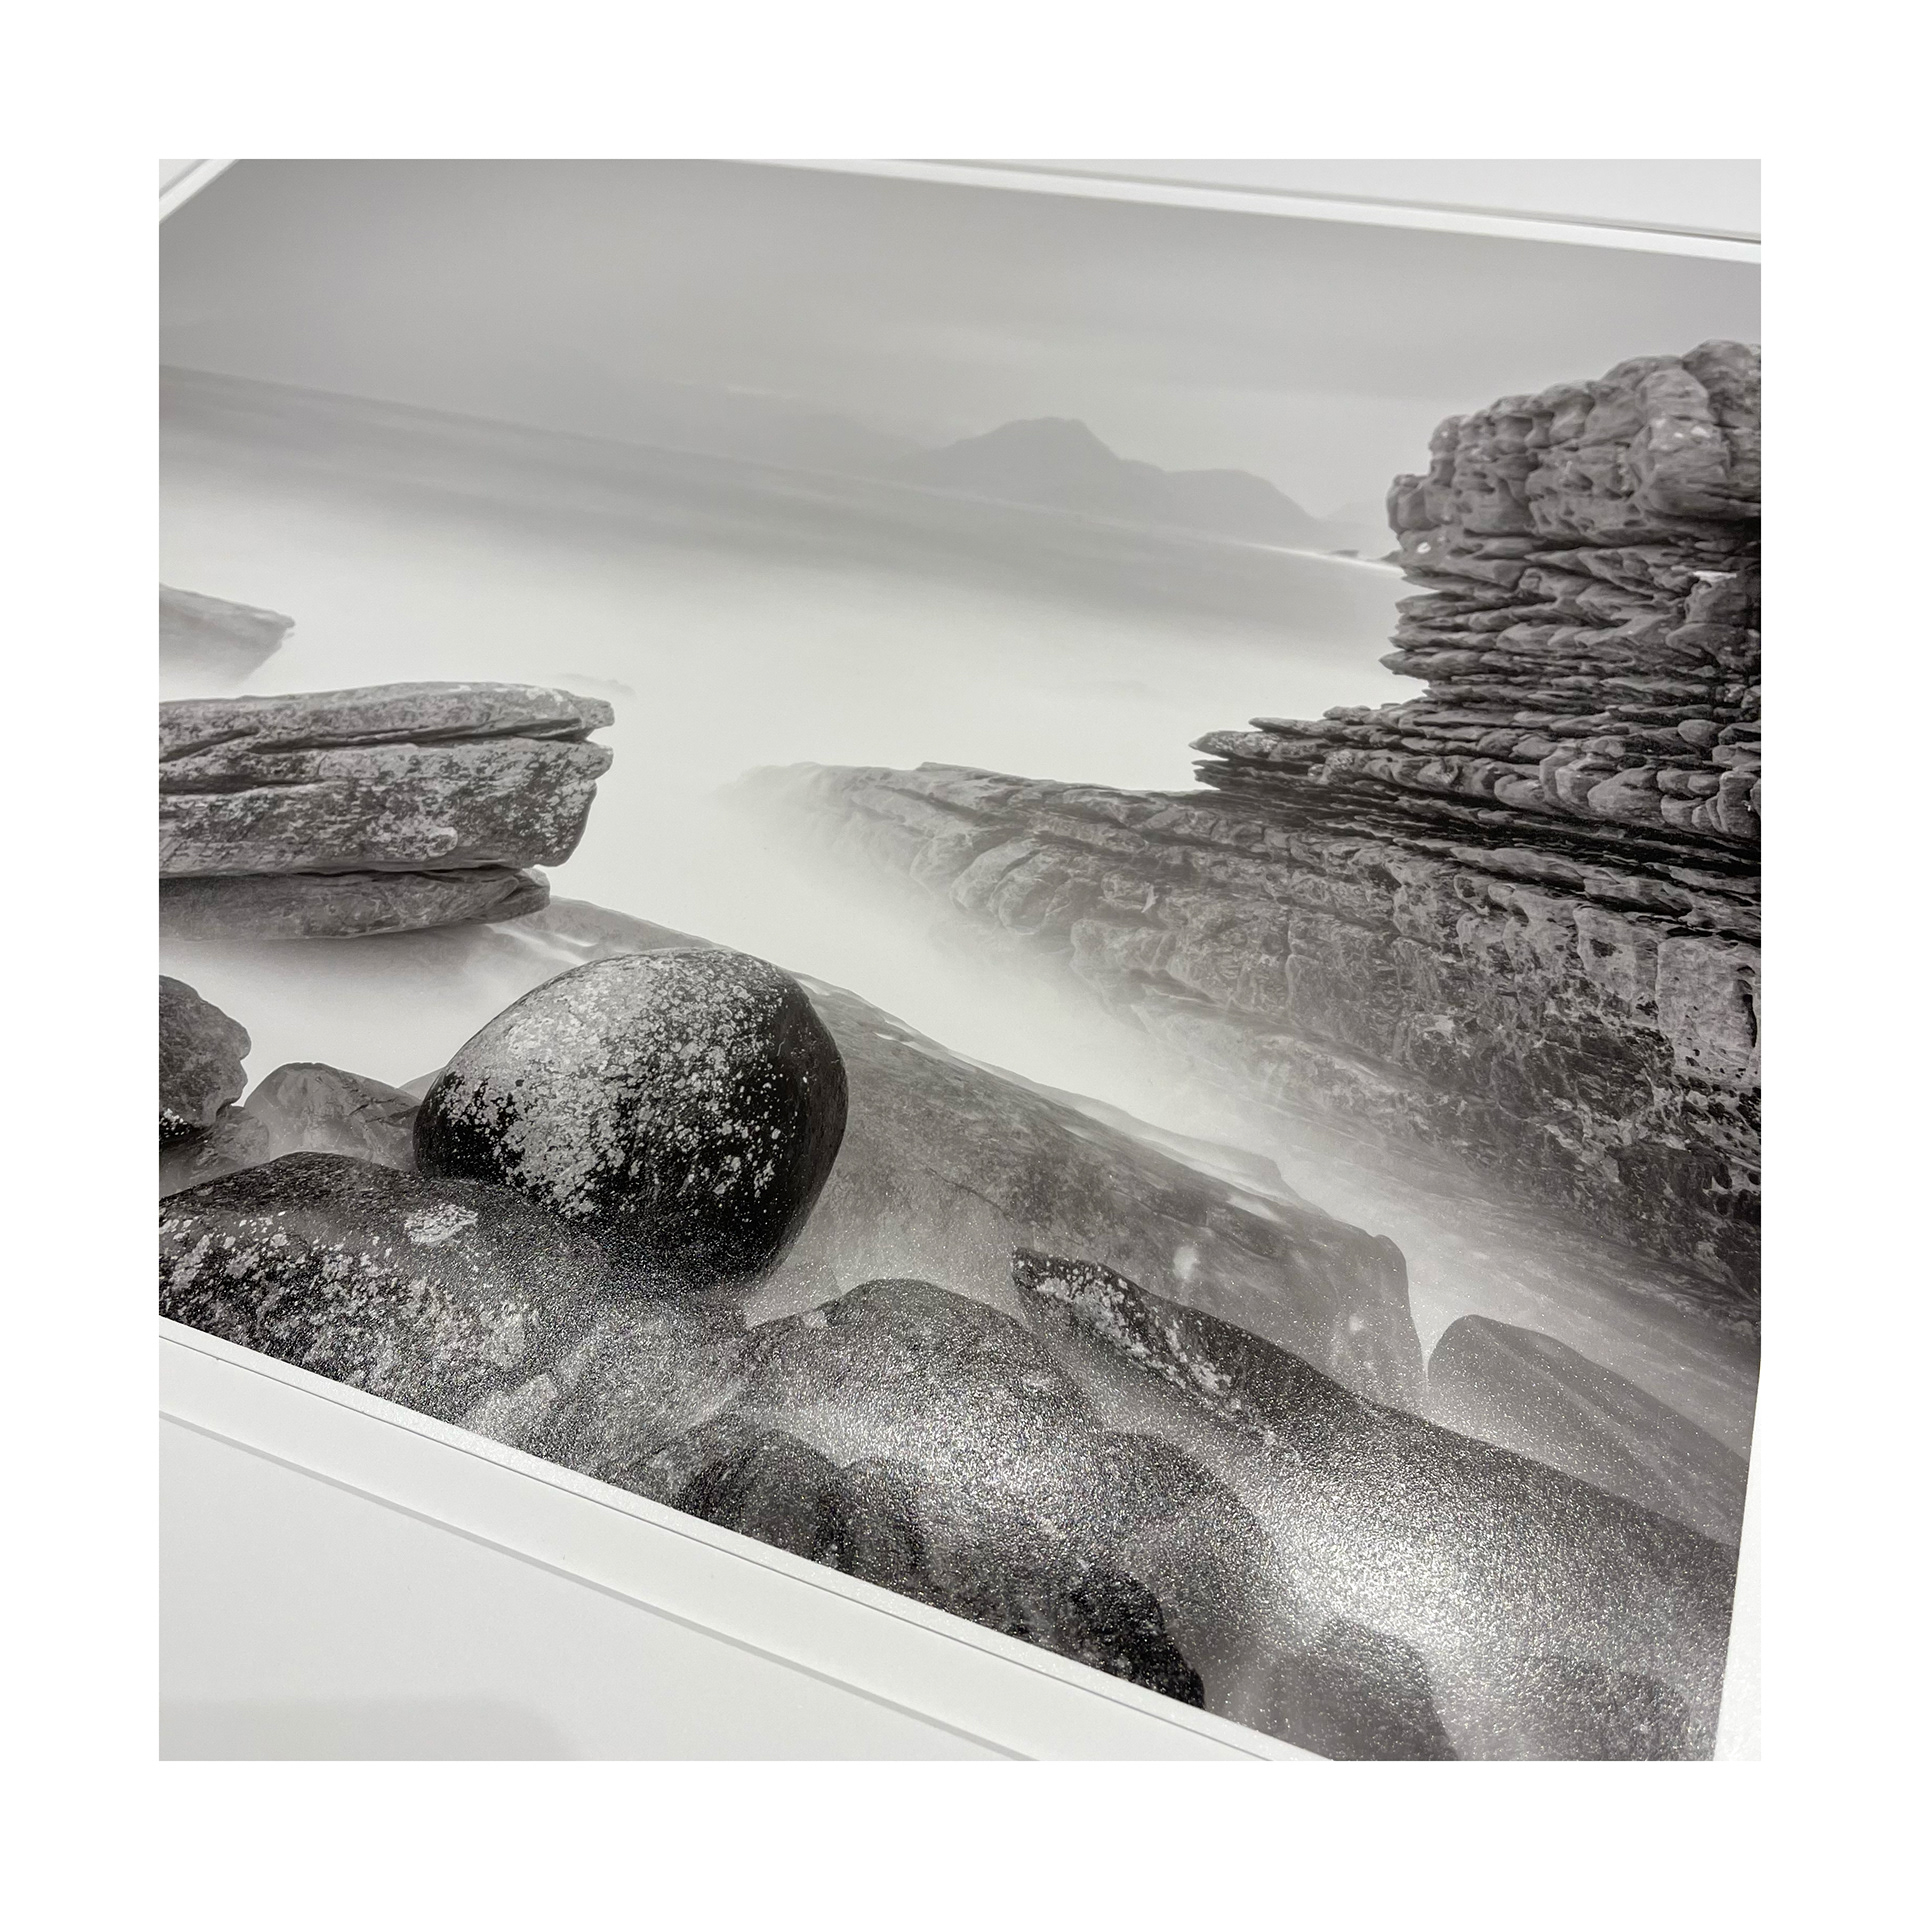
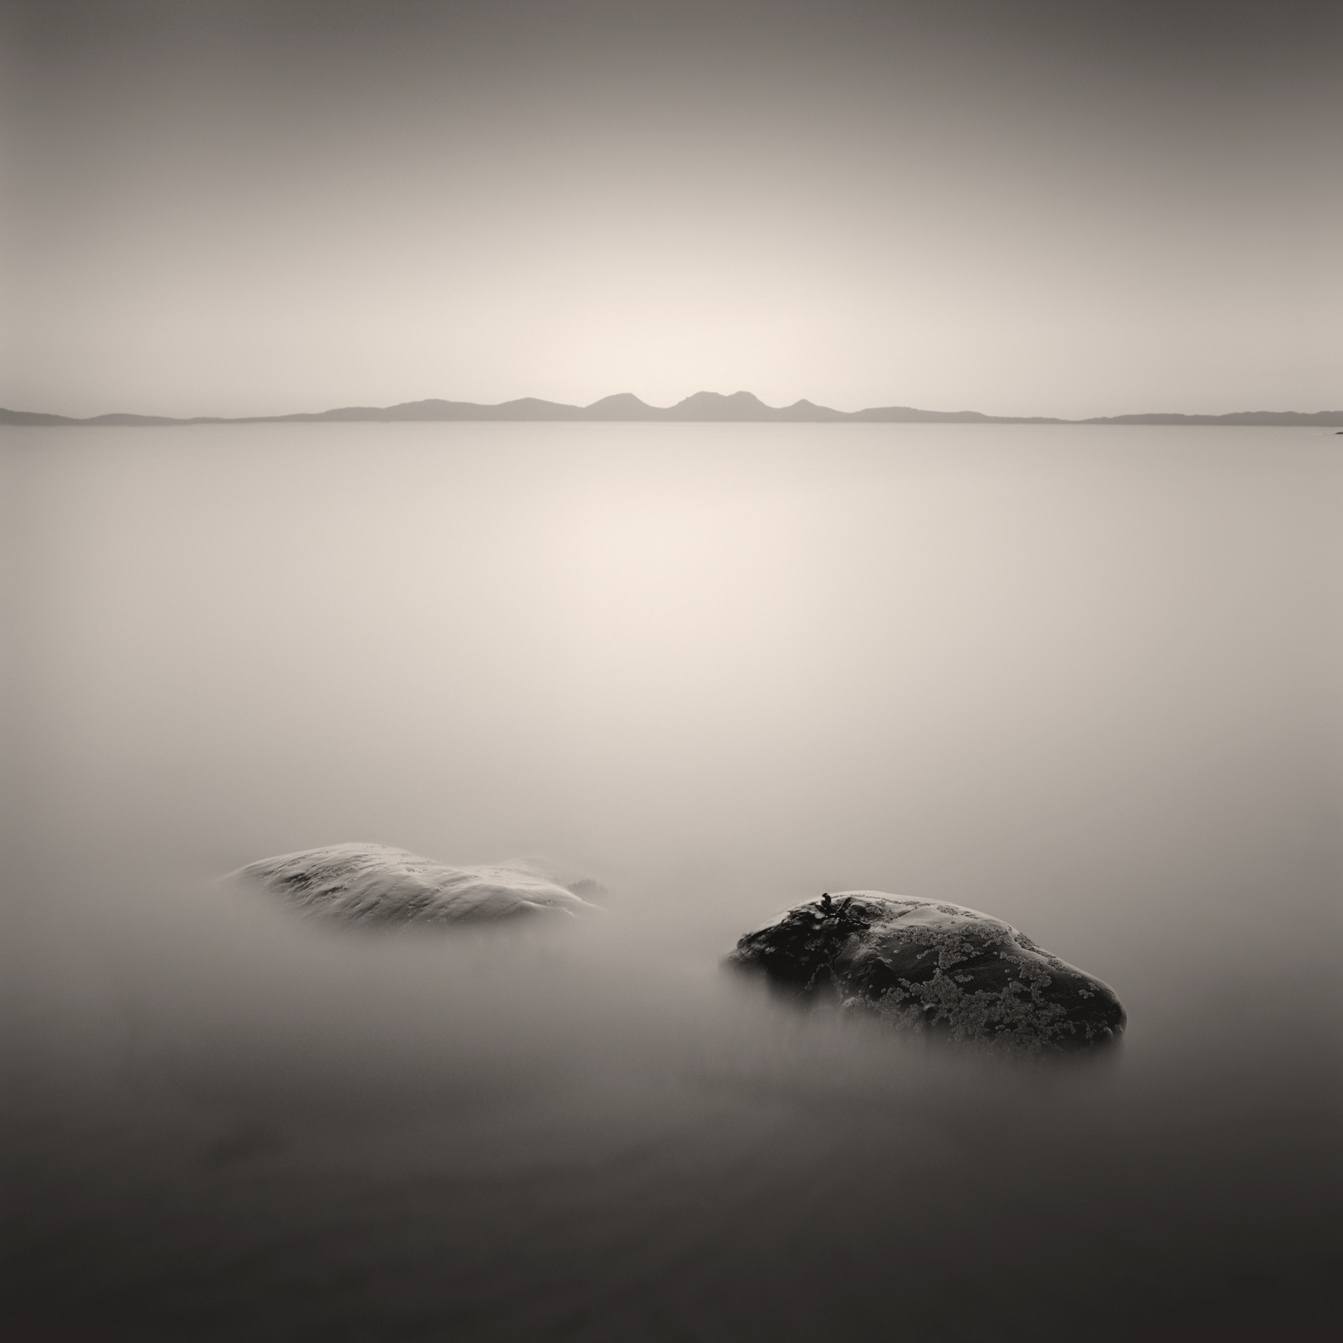
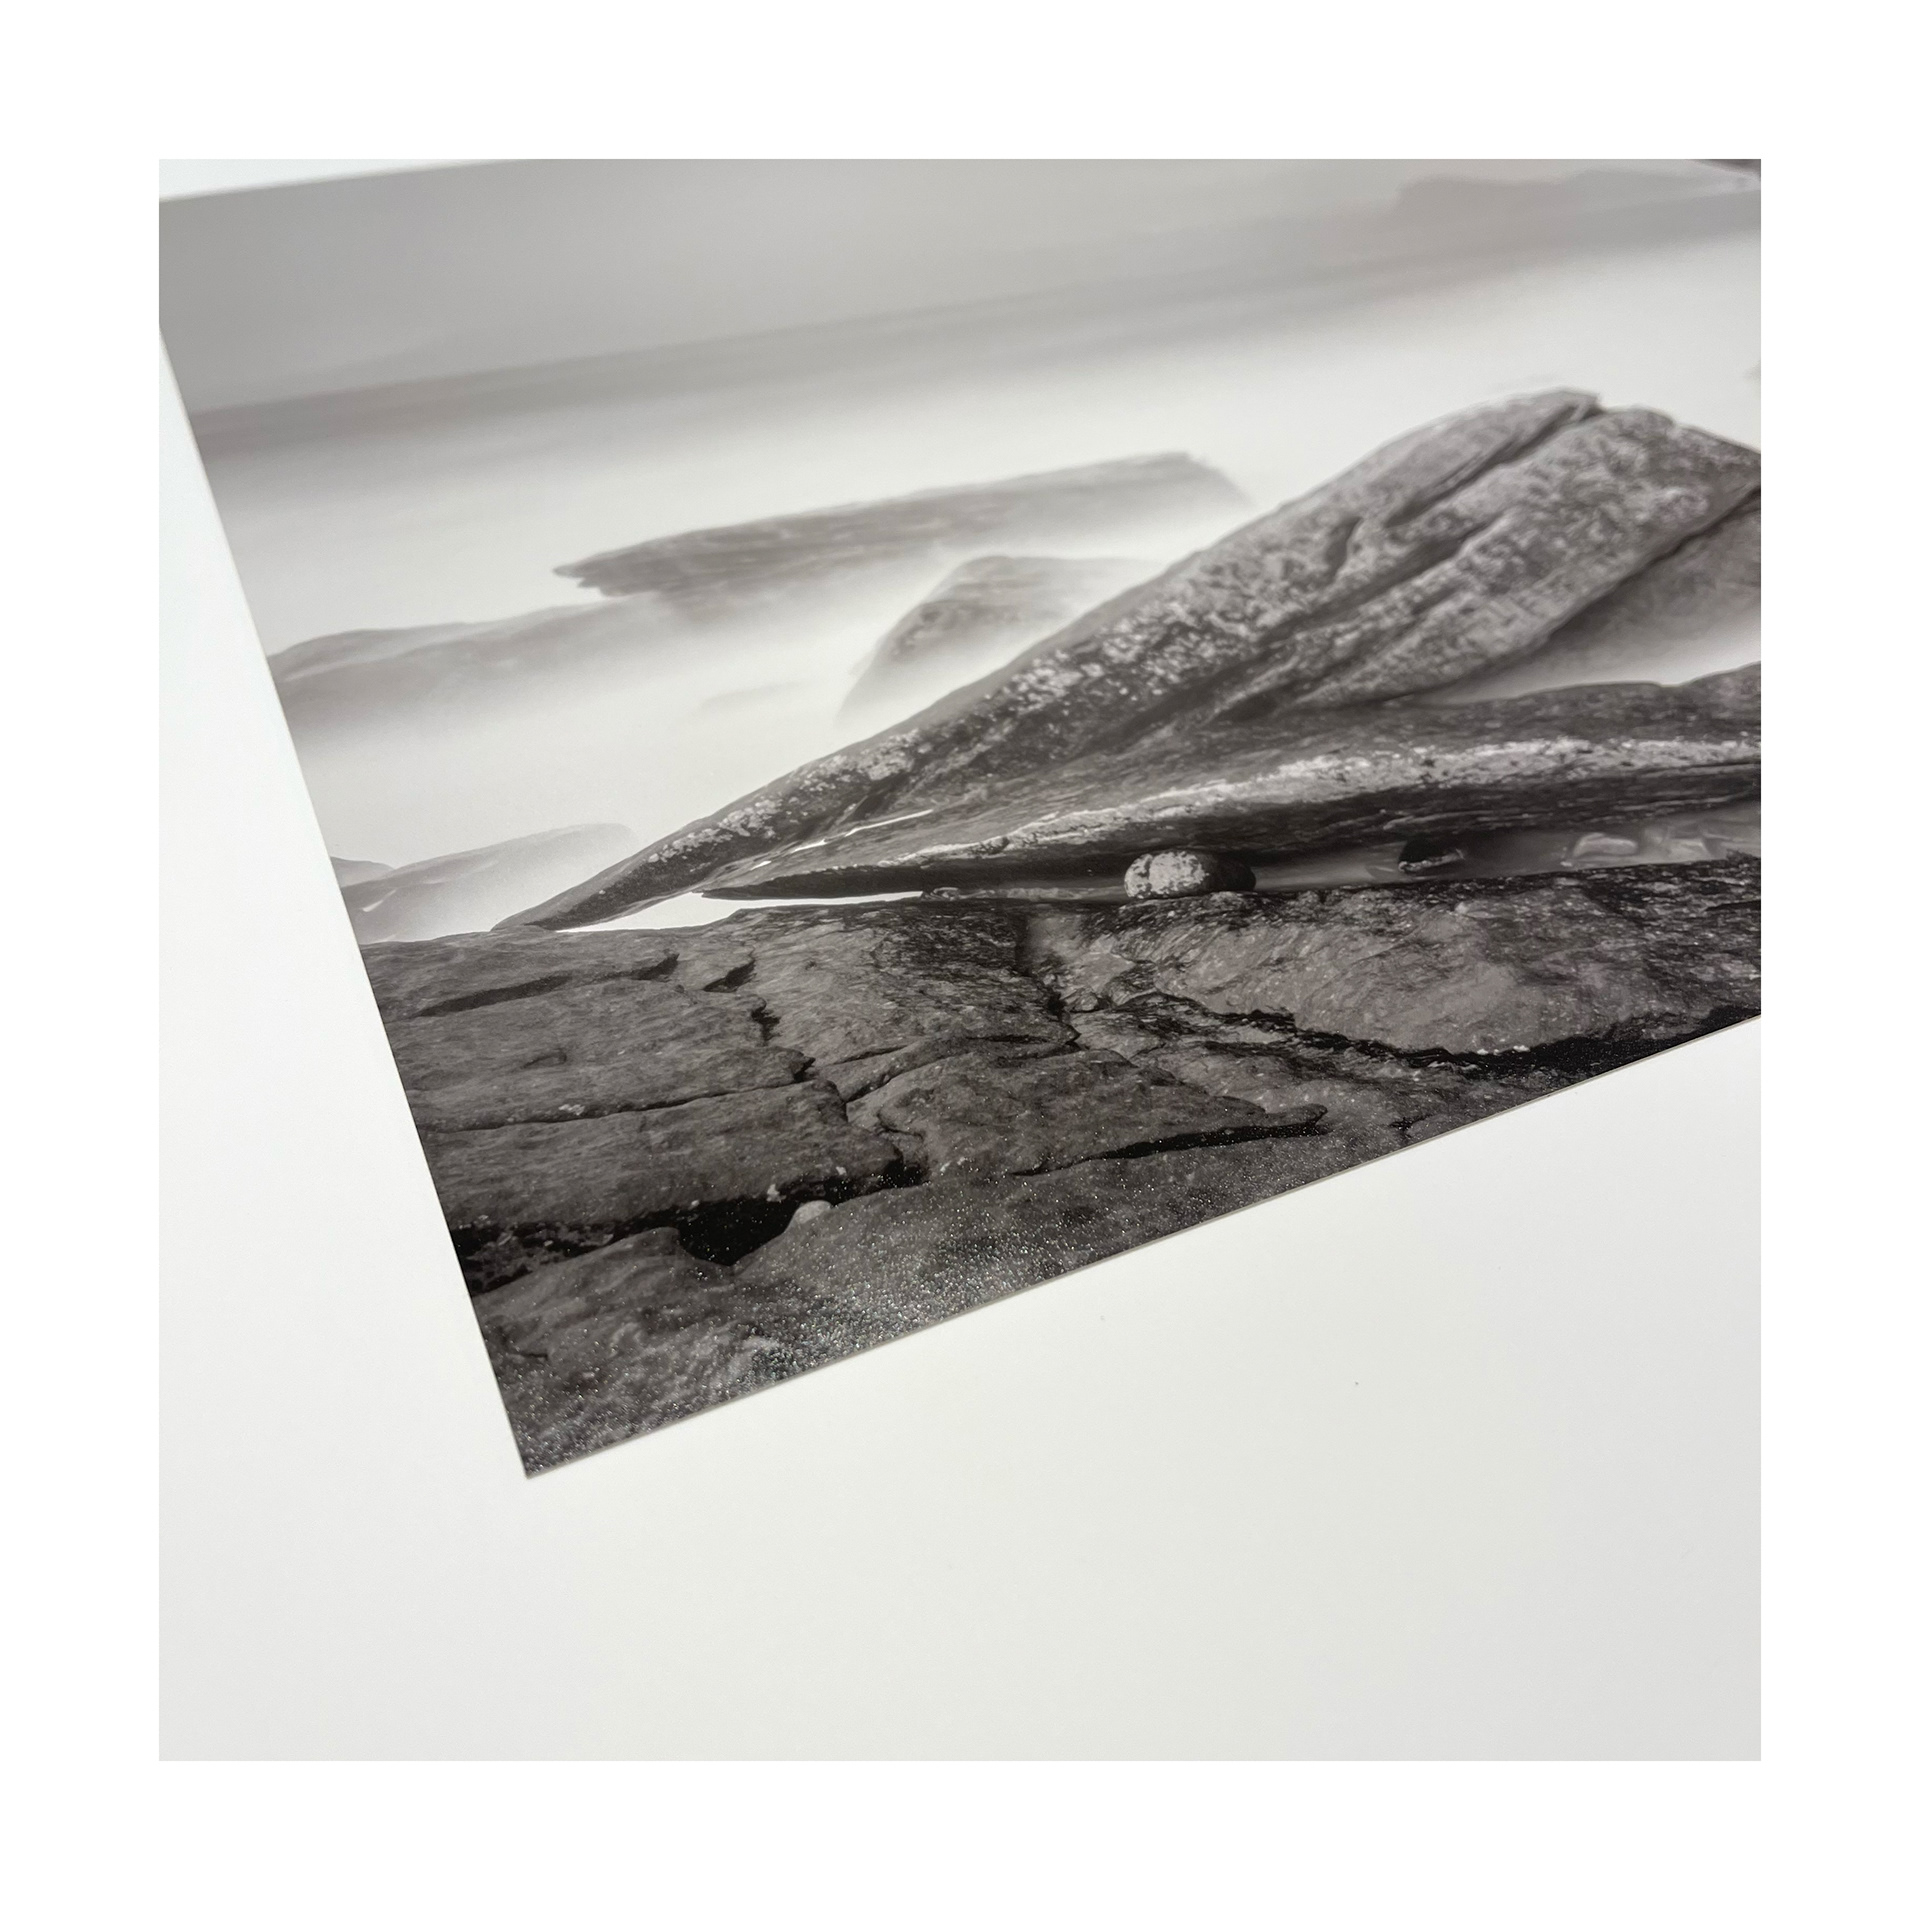
Some close ups of the print...
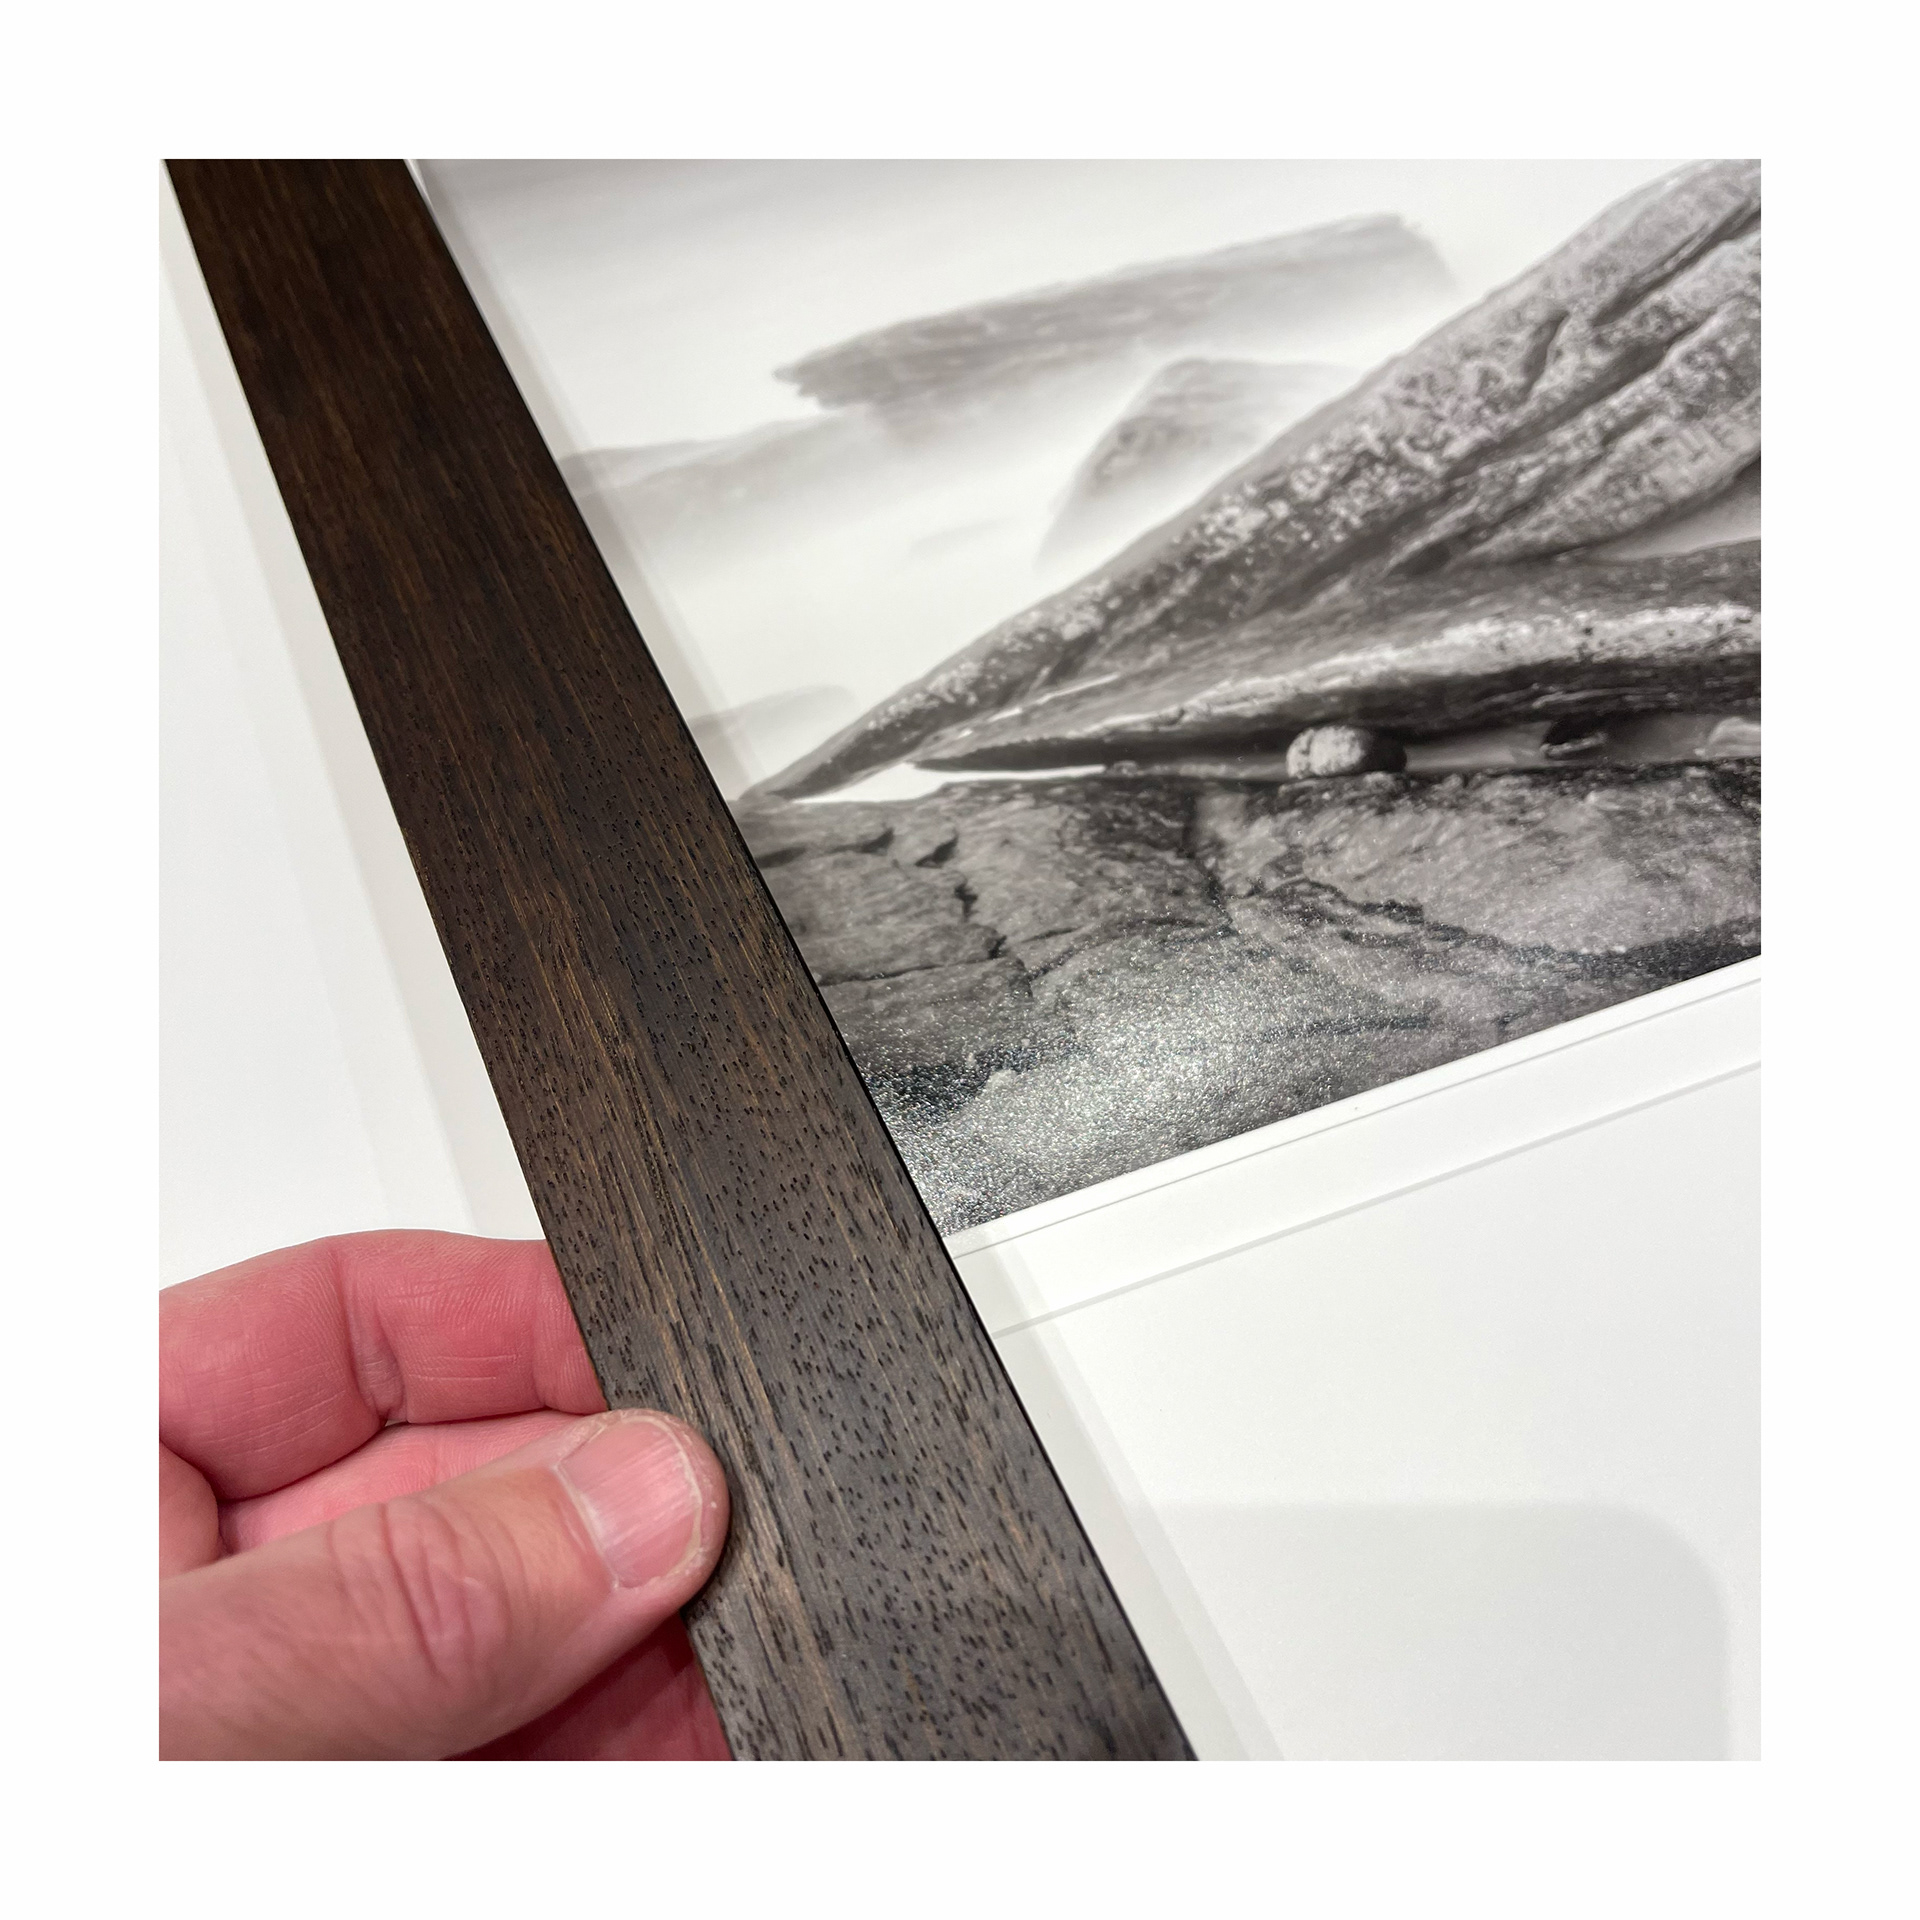
Selecting the moulding...
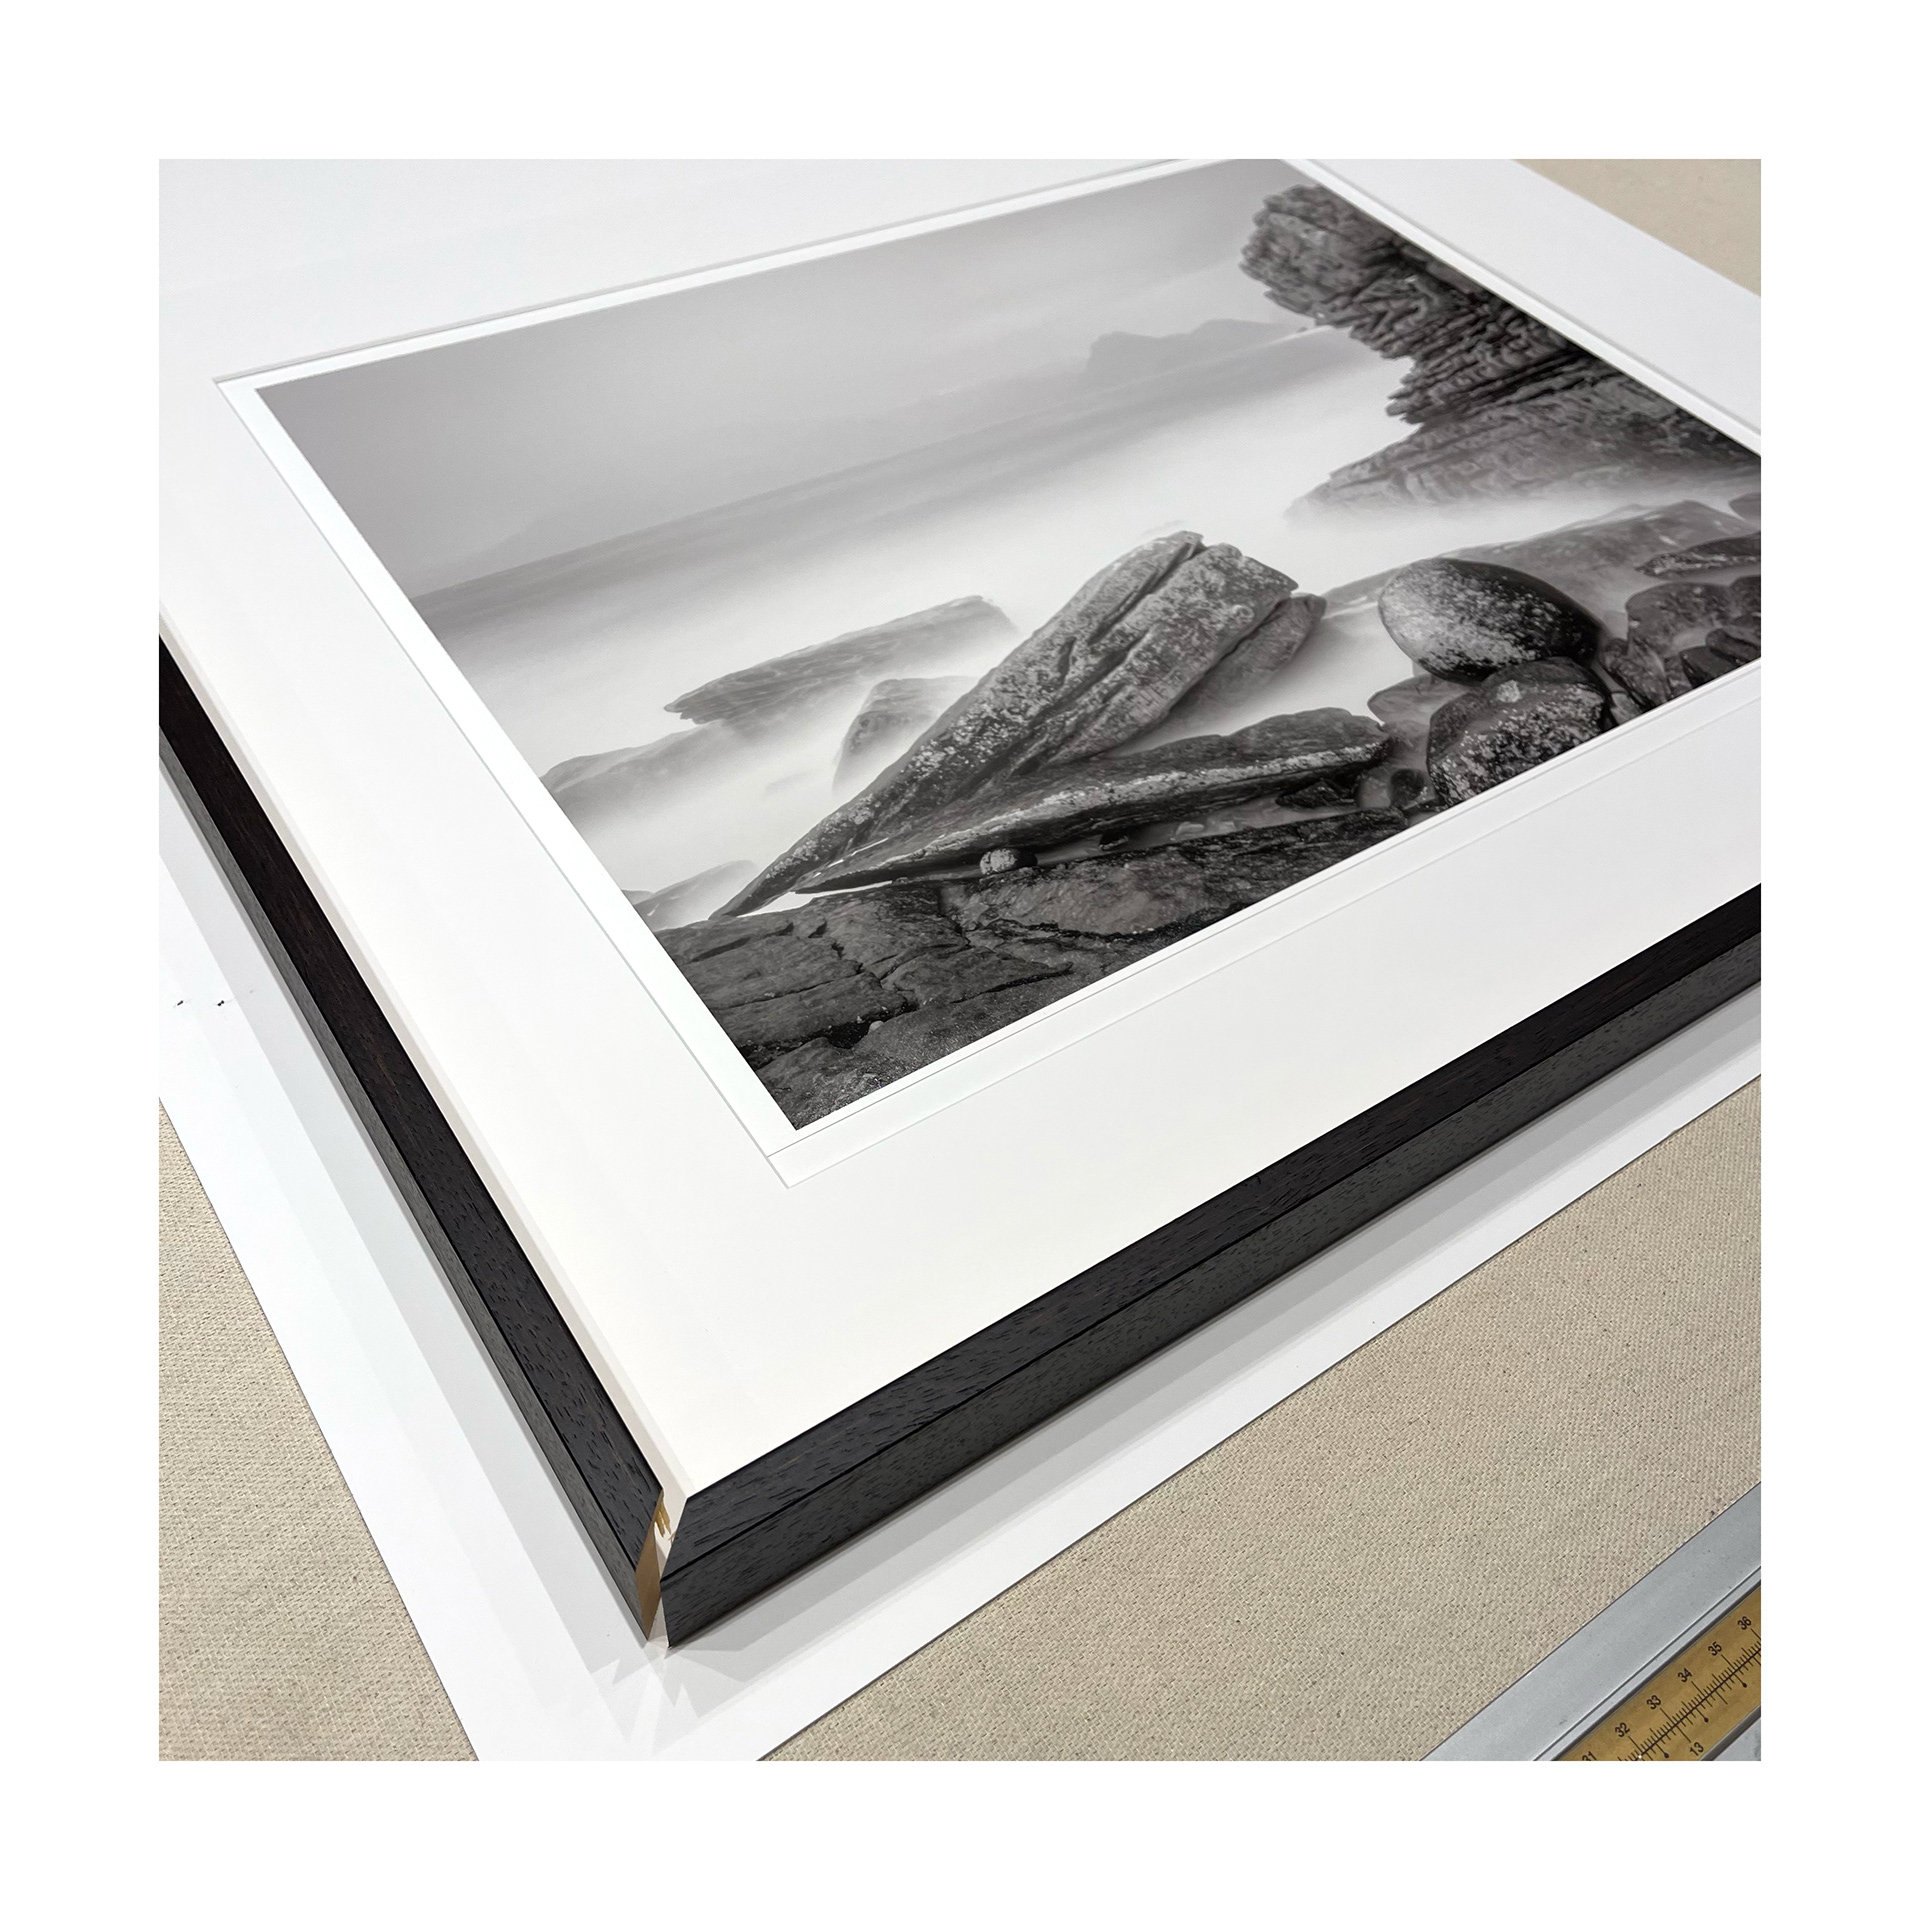
Offering up the frame moulding to get an idea of how it will look...
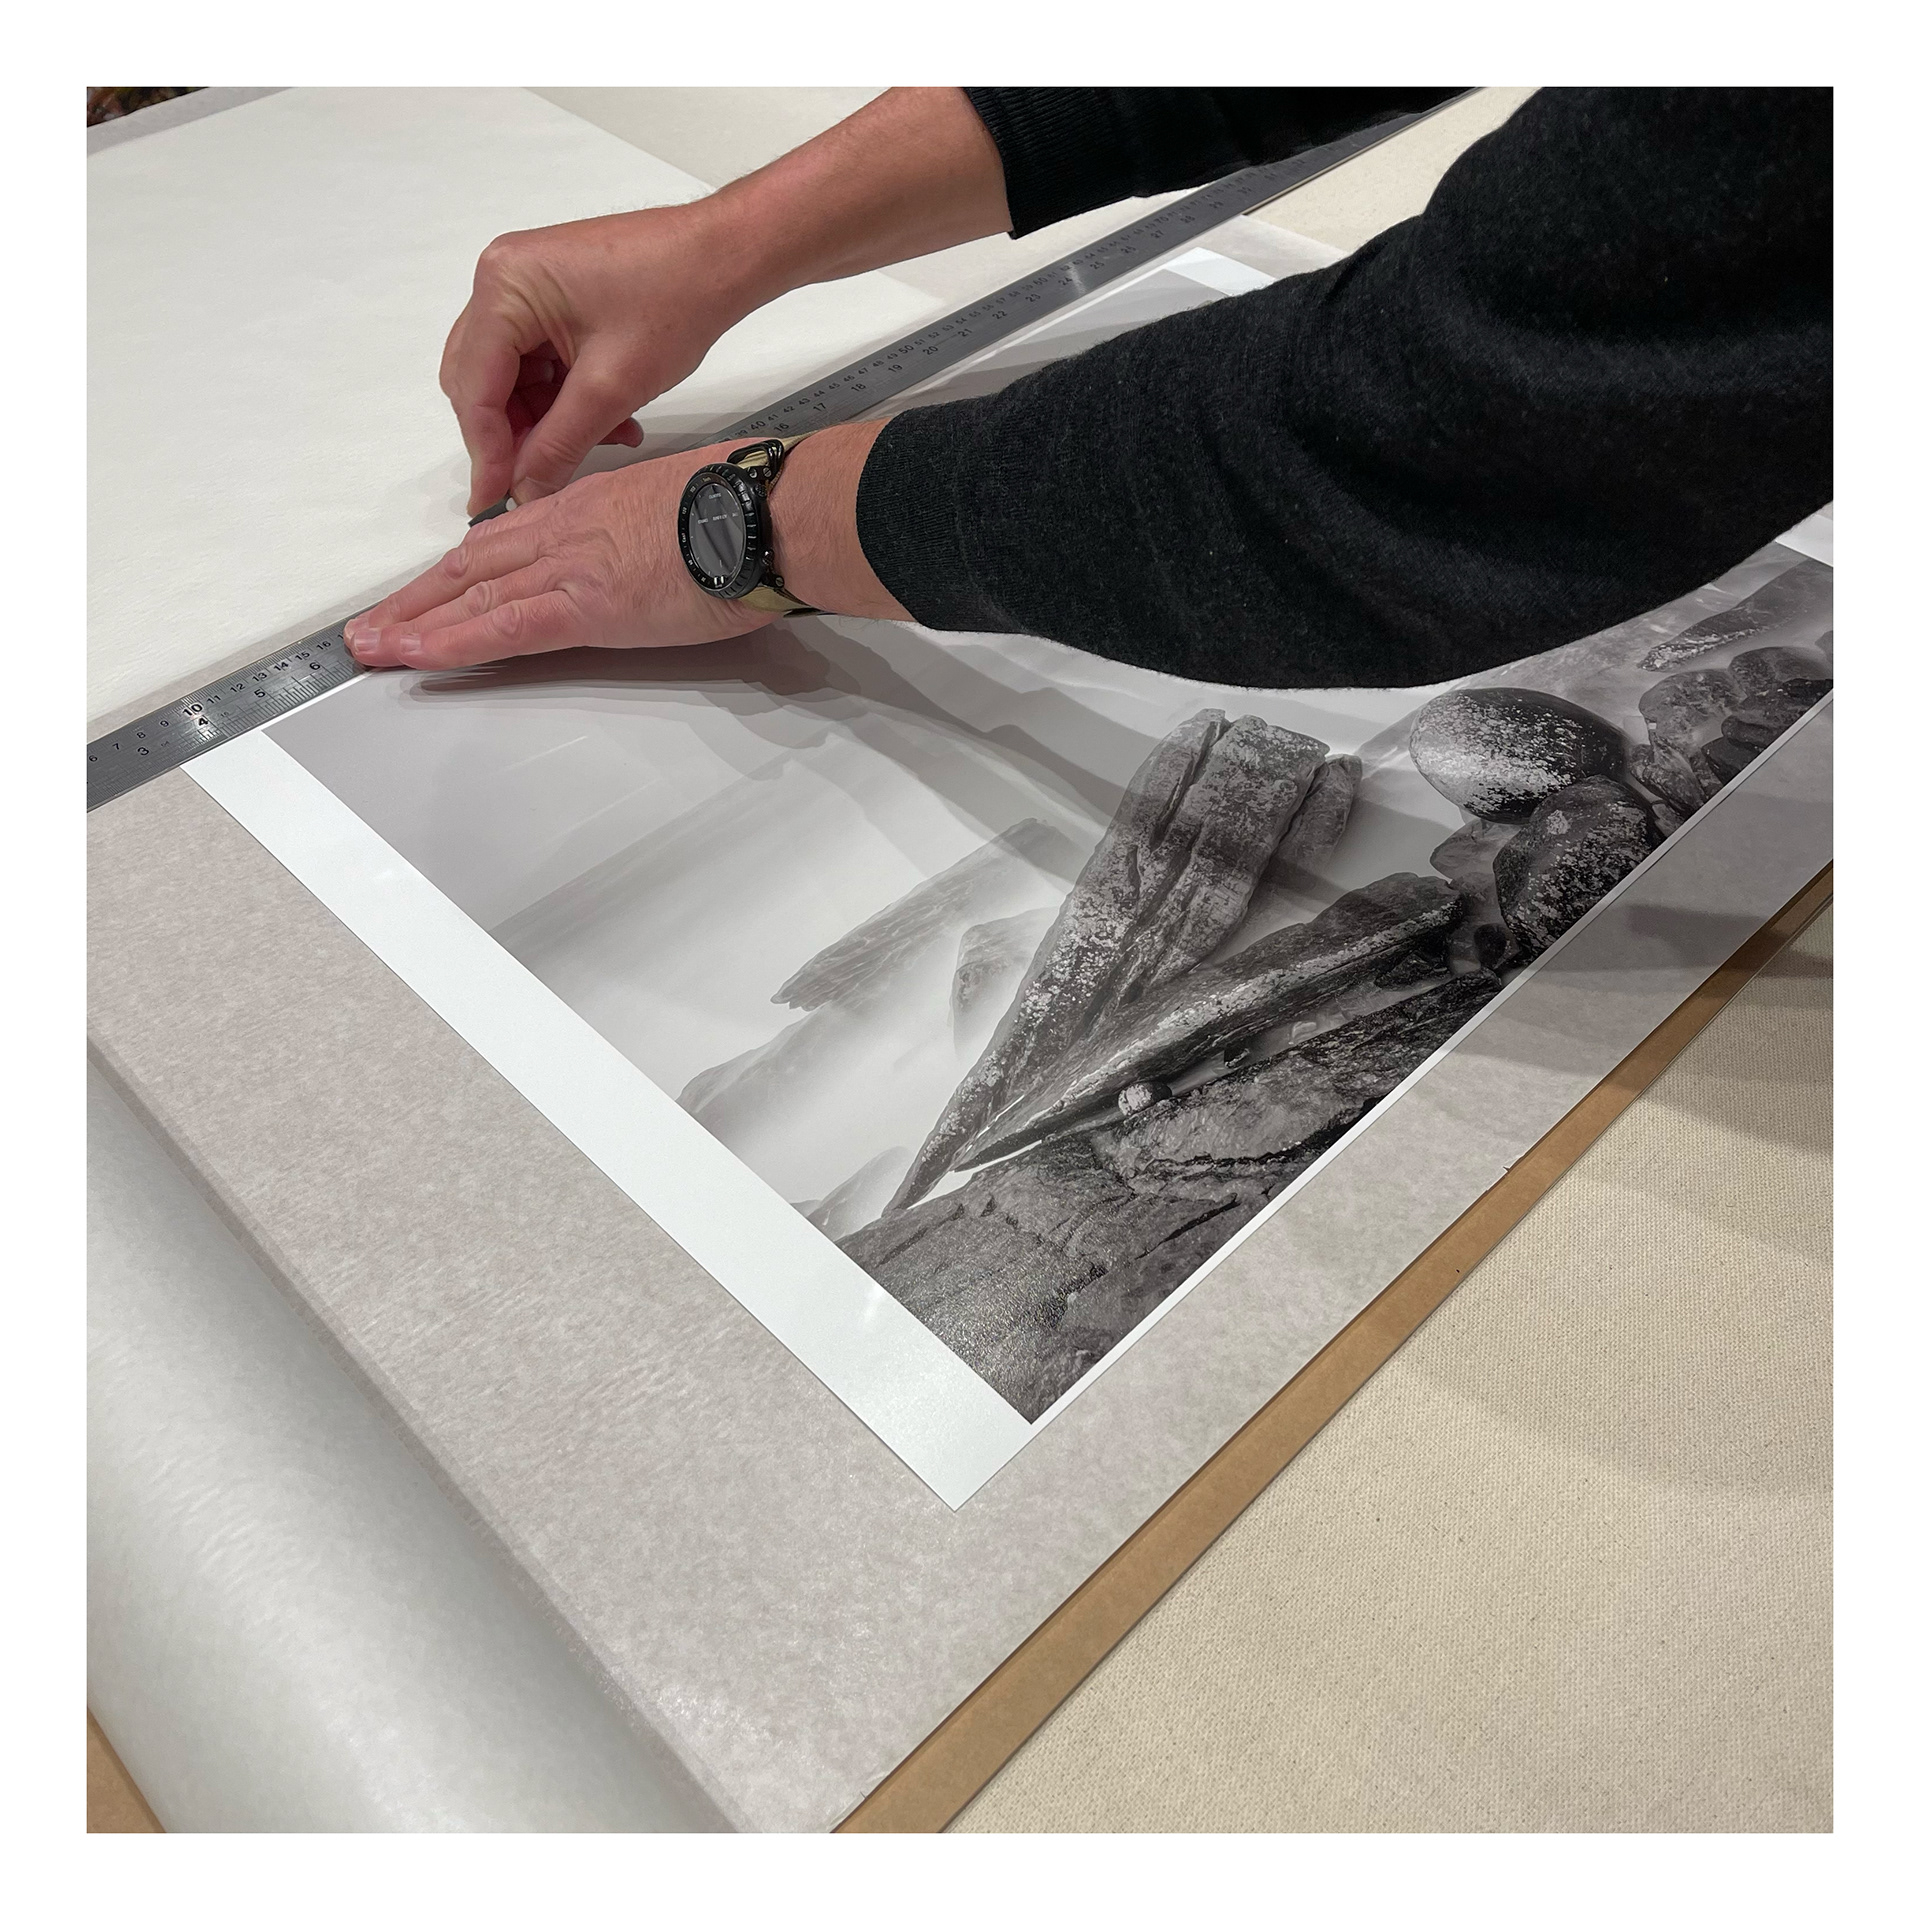
The dry mounting tissue comes in a 40 inch roll. I lay the print down on the tissue and cut a piece approximately an inch or so bigger than the print...
The print lying on the pre cut dry mounting tissue...
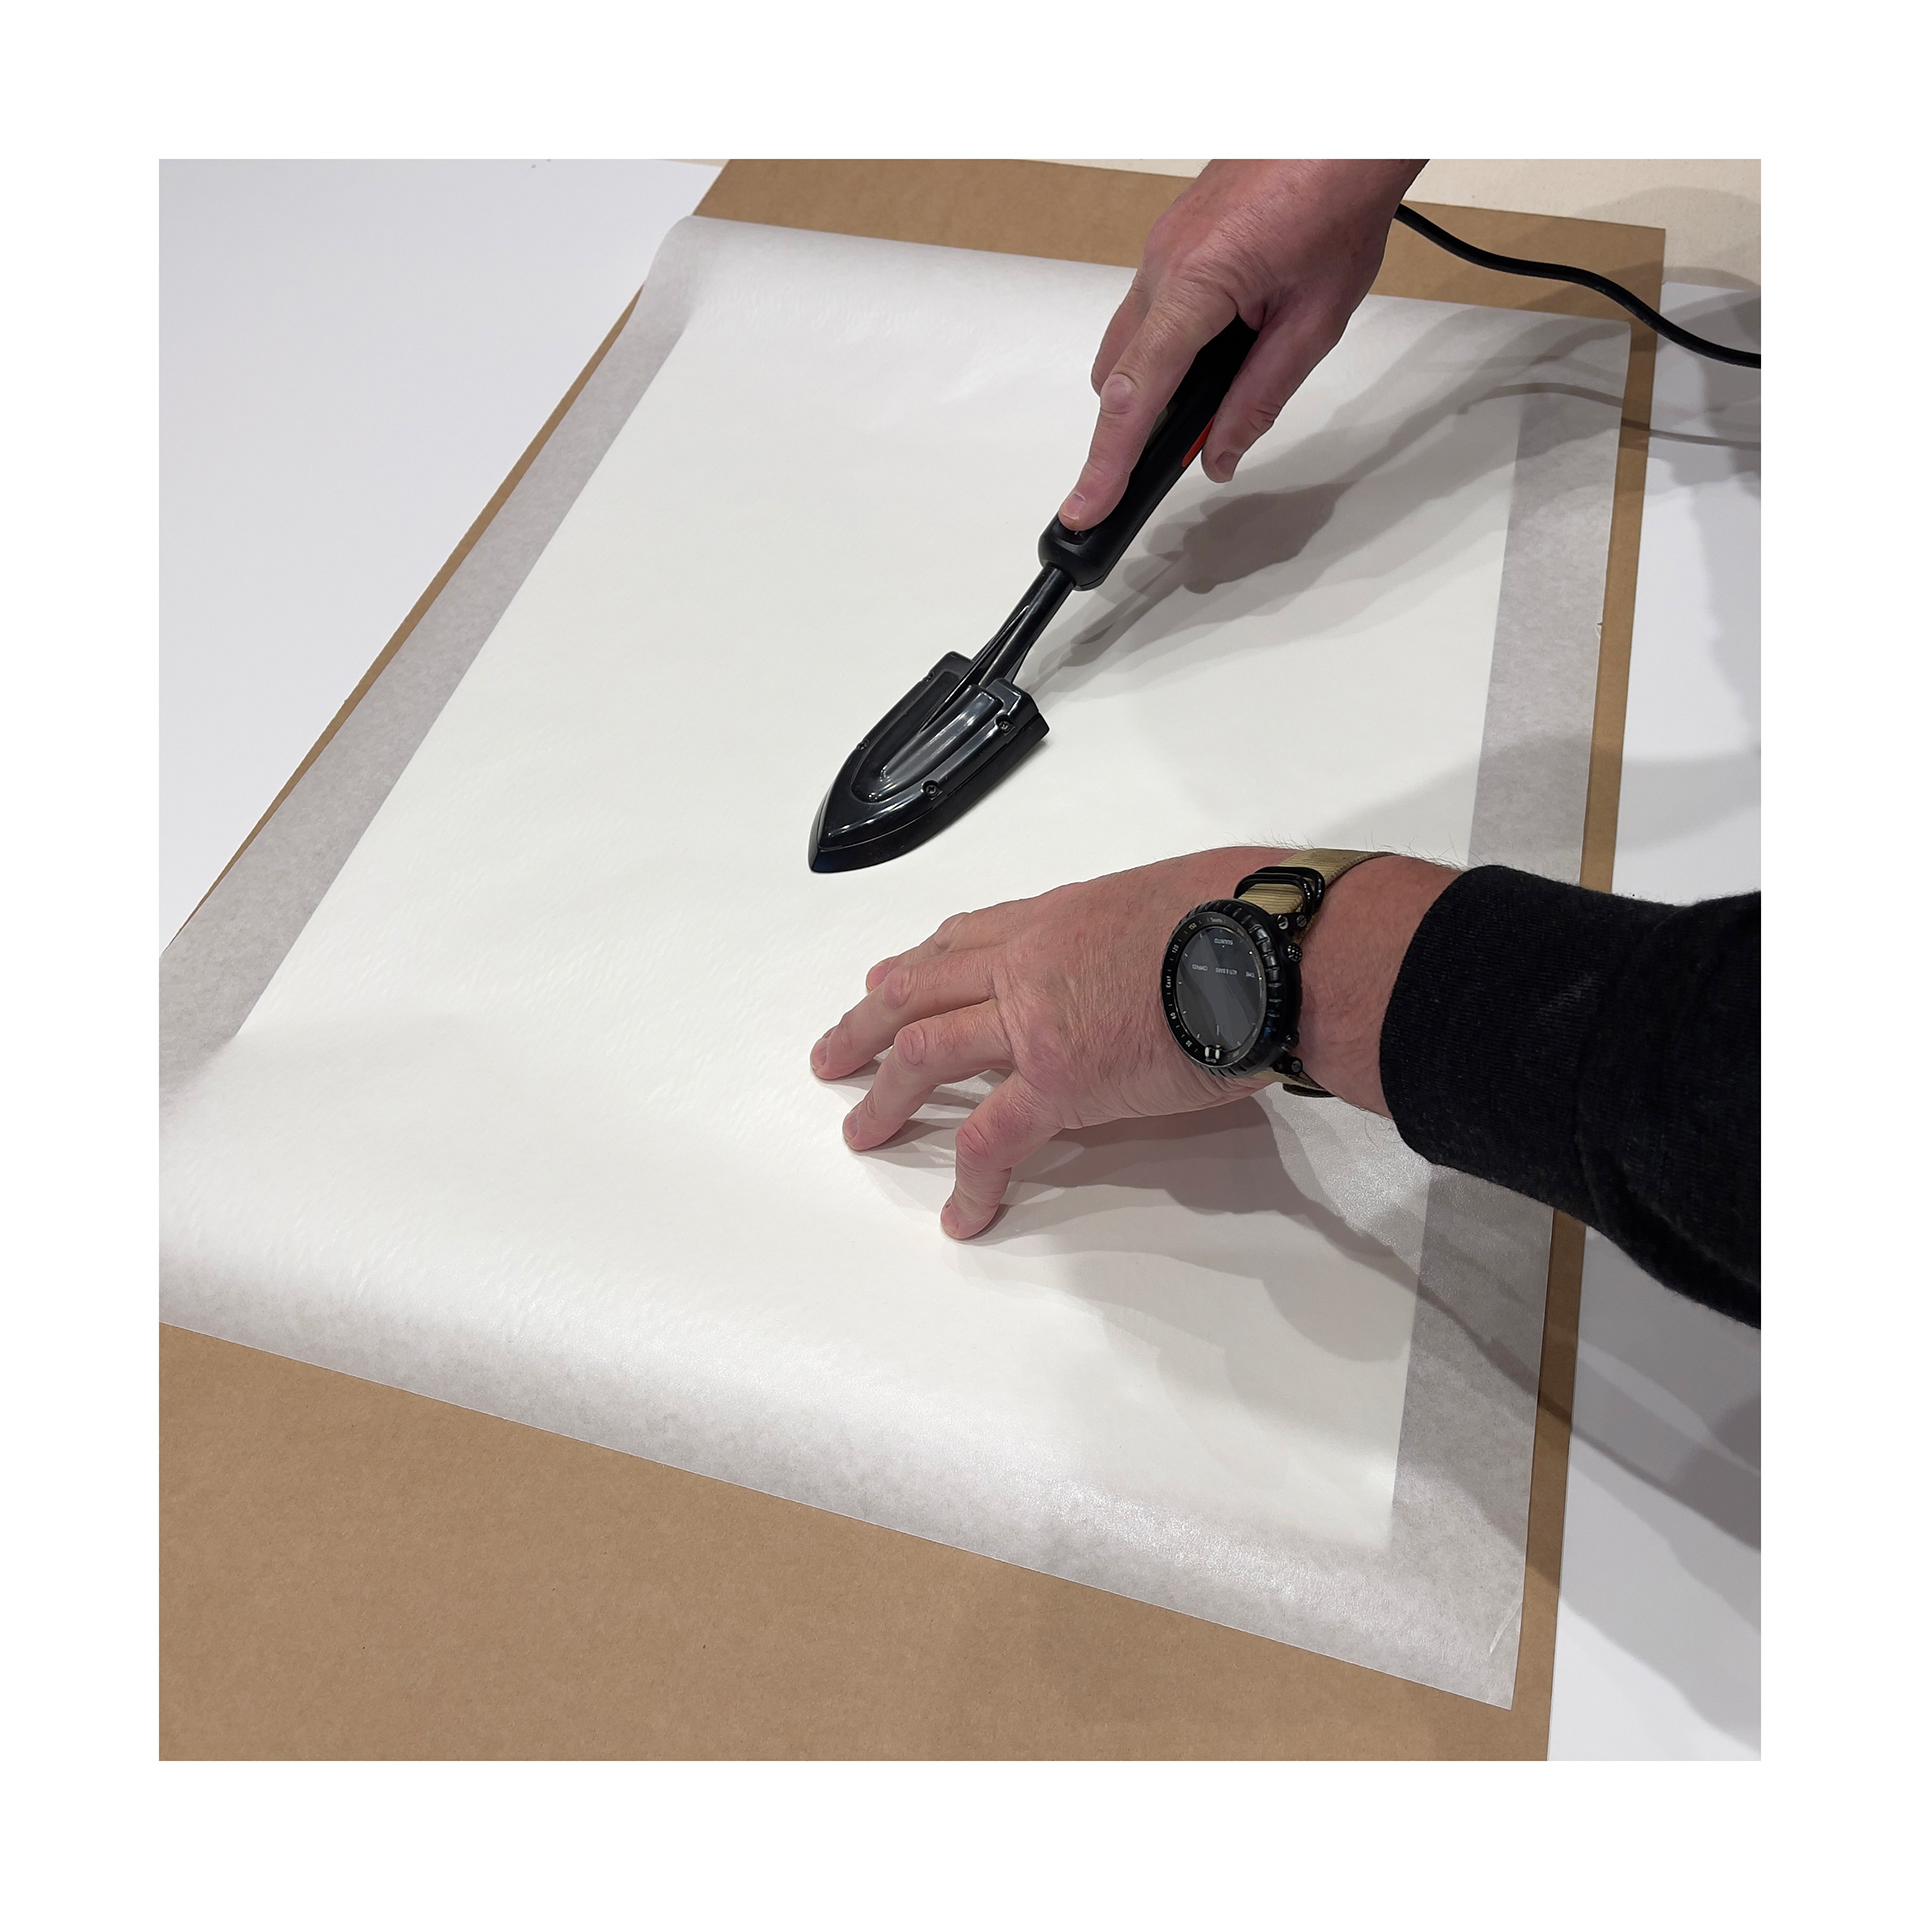
Tacking the tissue to the back of the print...
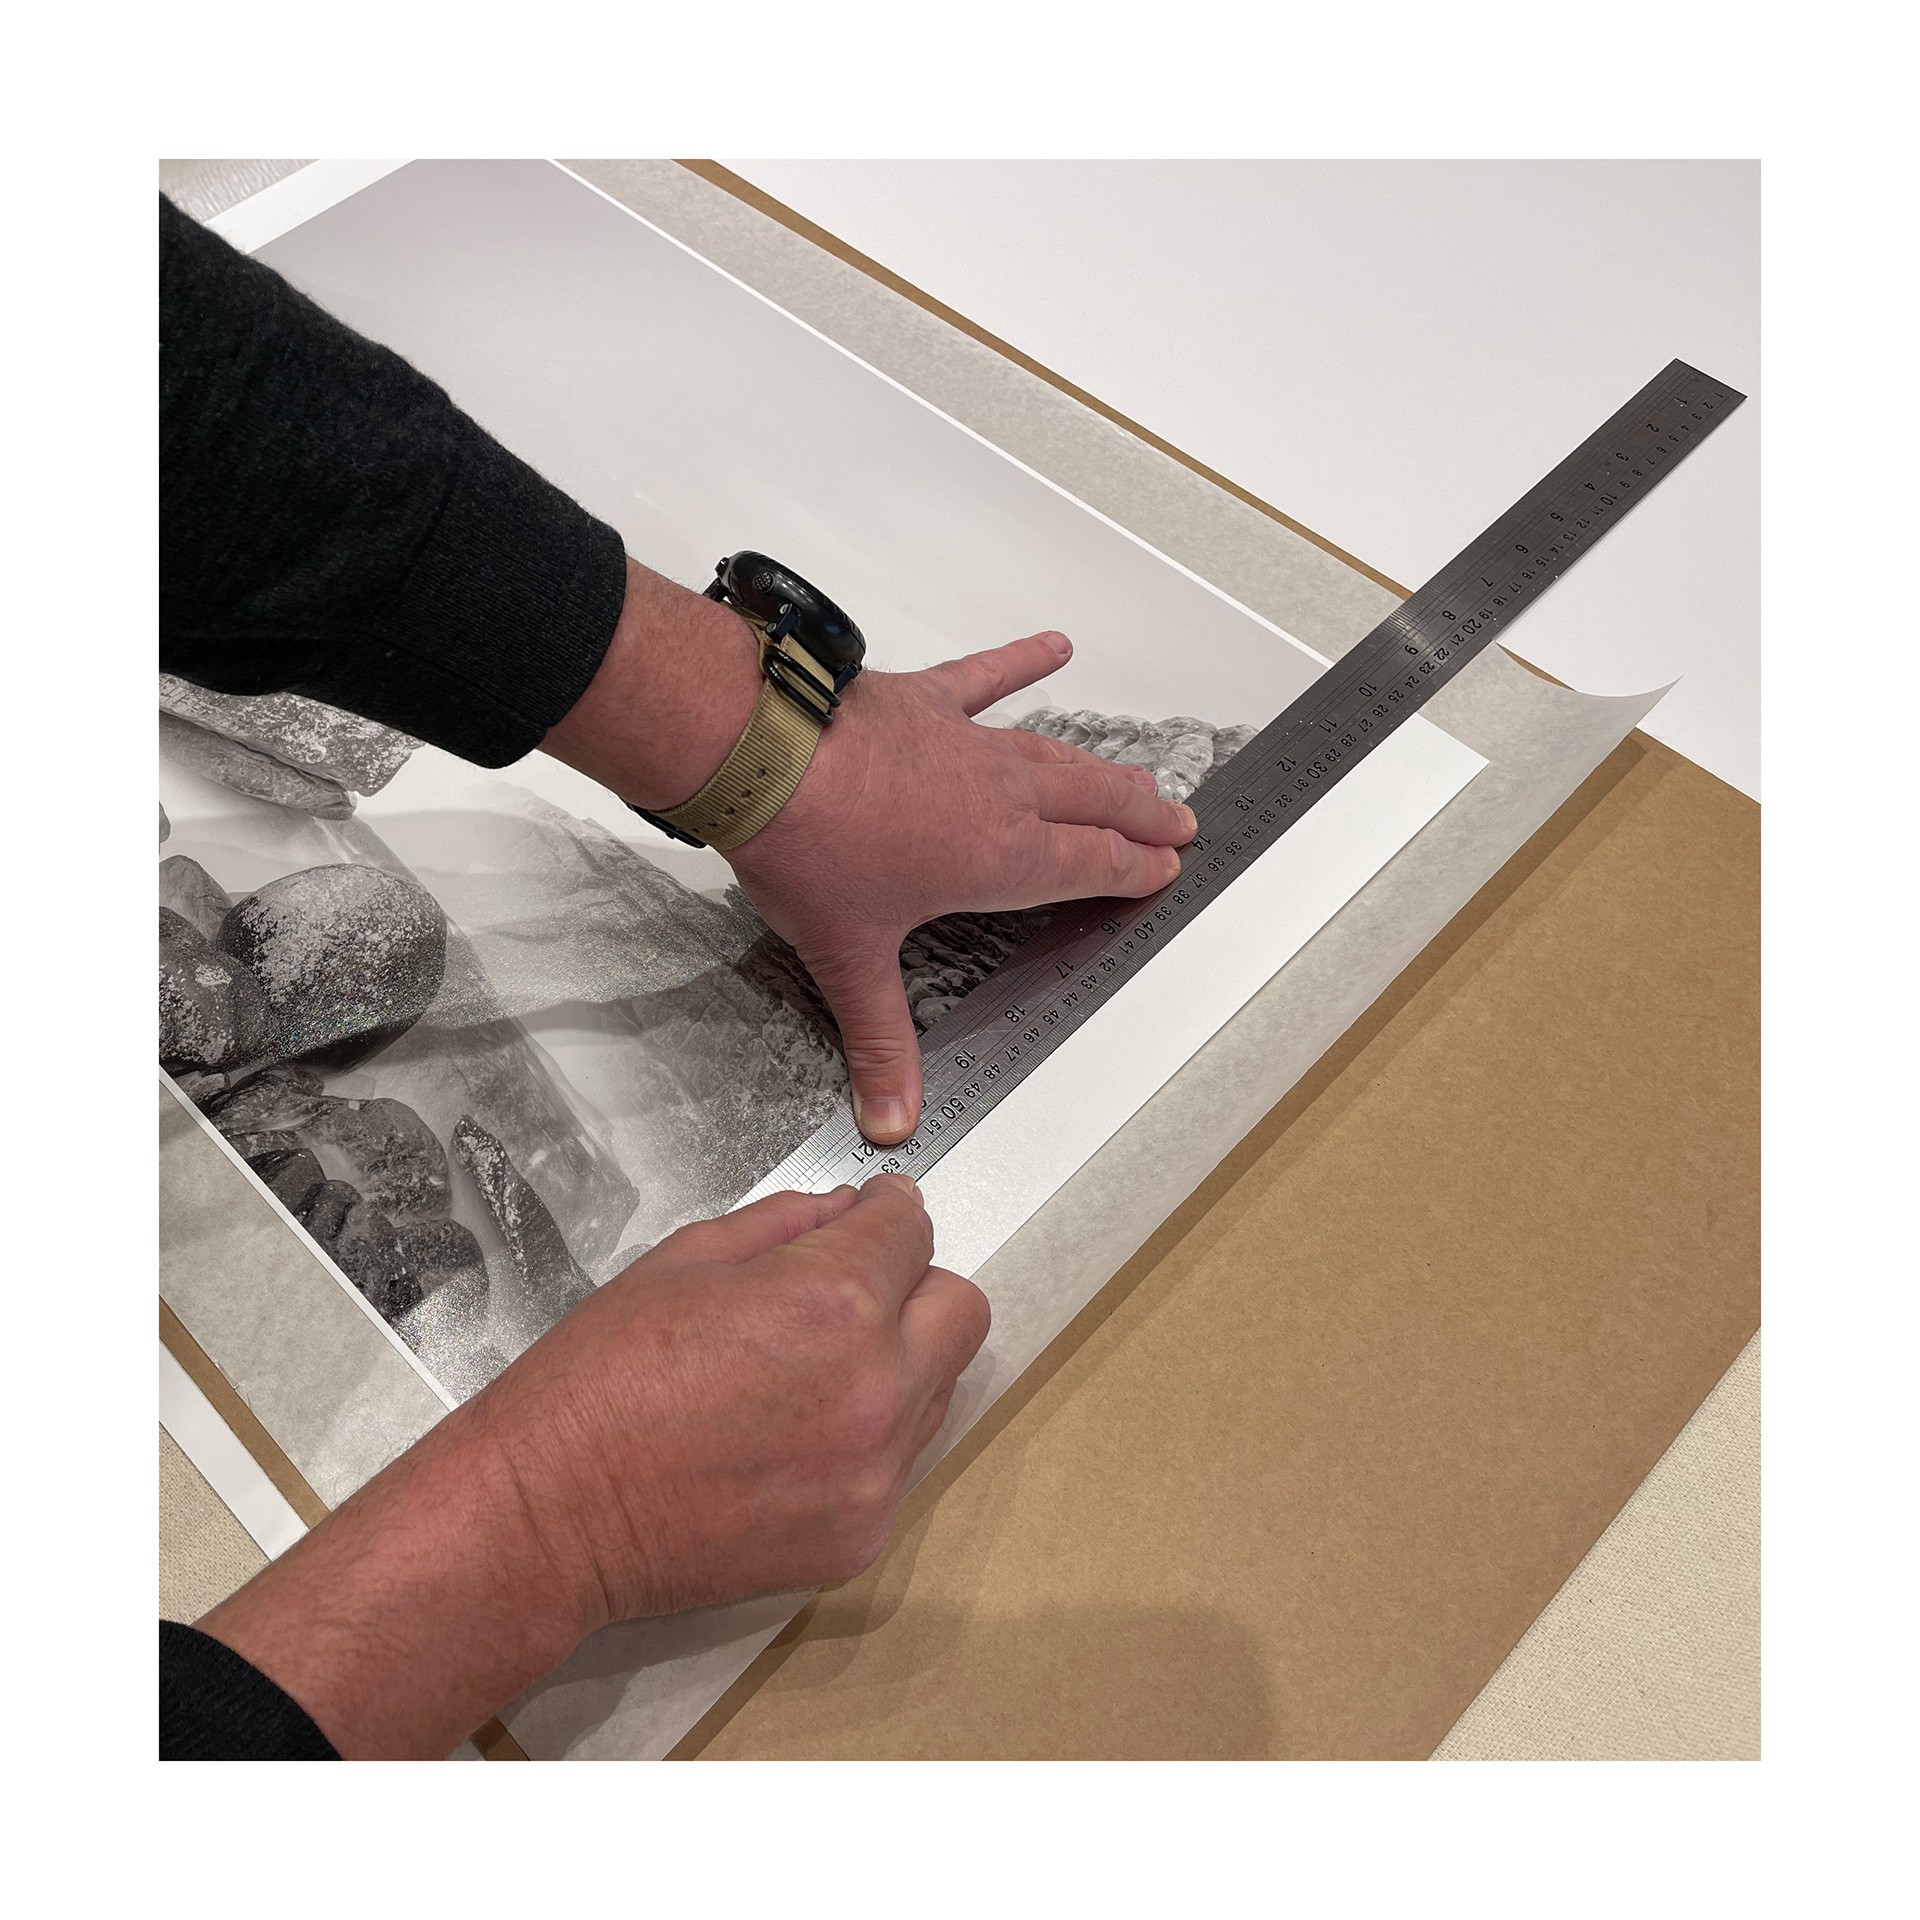
The print is then trimmed right to the edge of the image. Using a sharp blade I cut right through the print and the tissue. This leaves the print with a perfectly aligned piece of dry mounting tissue tacked to the back of it...
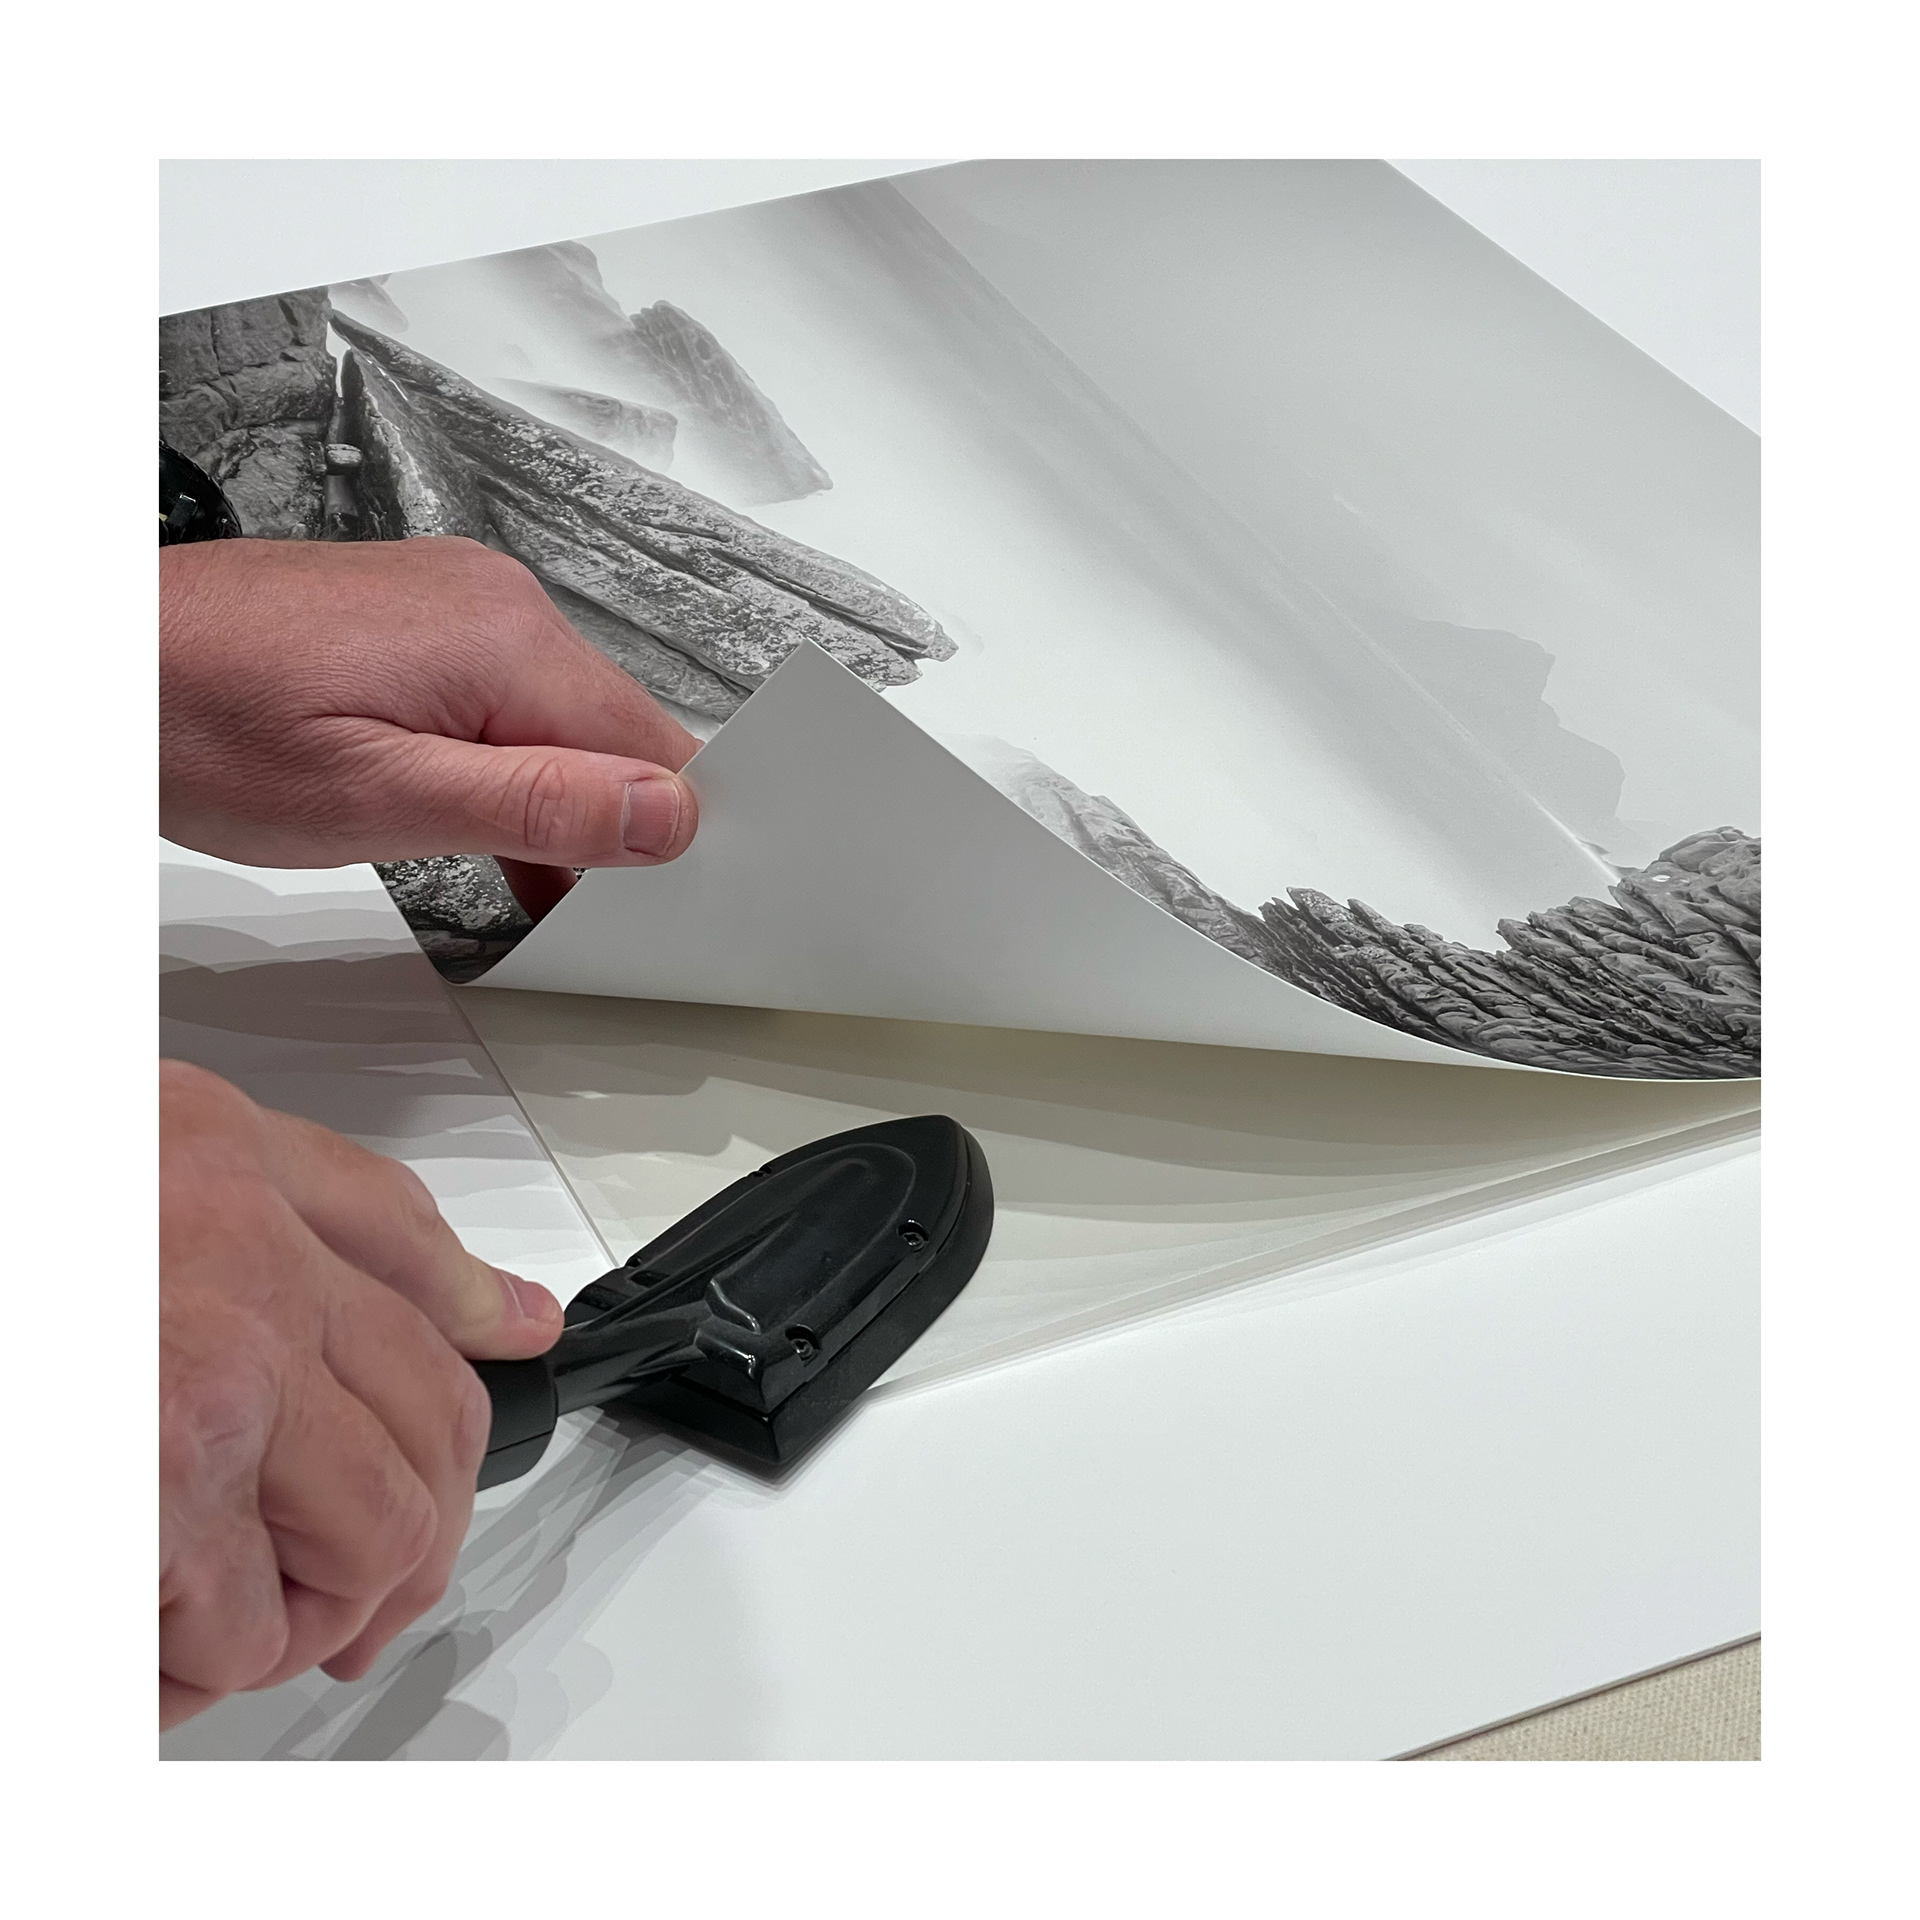
The print is then placed on top of the mountboard and the dry mounting tissue is then tacked to it.
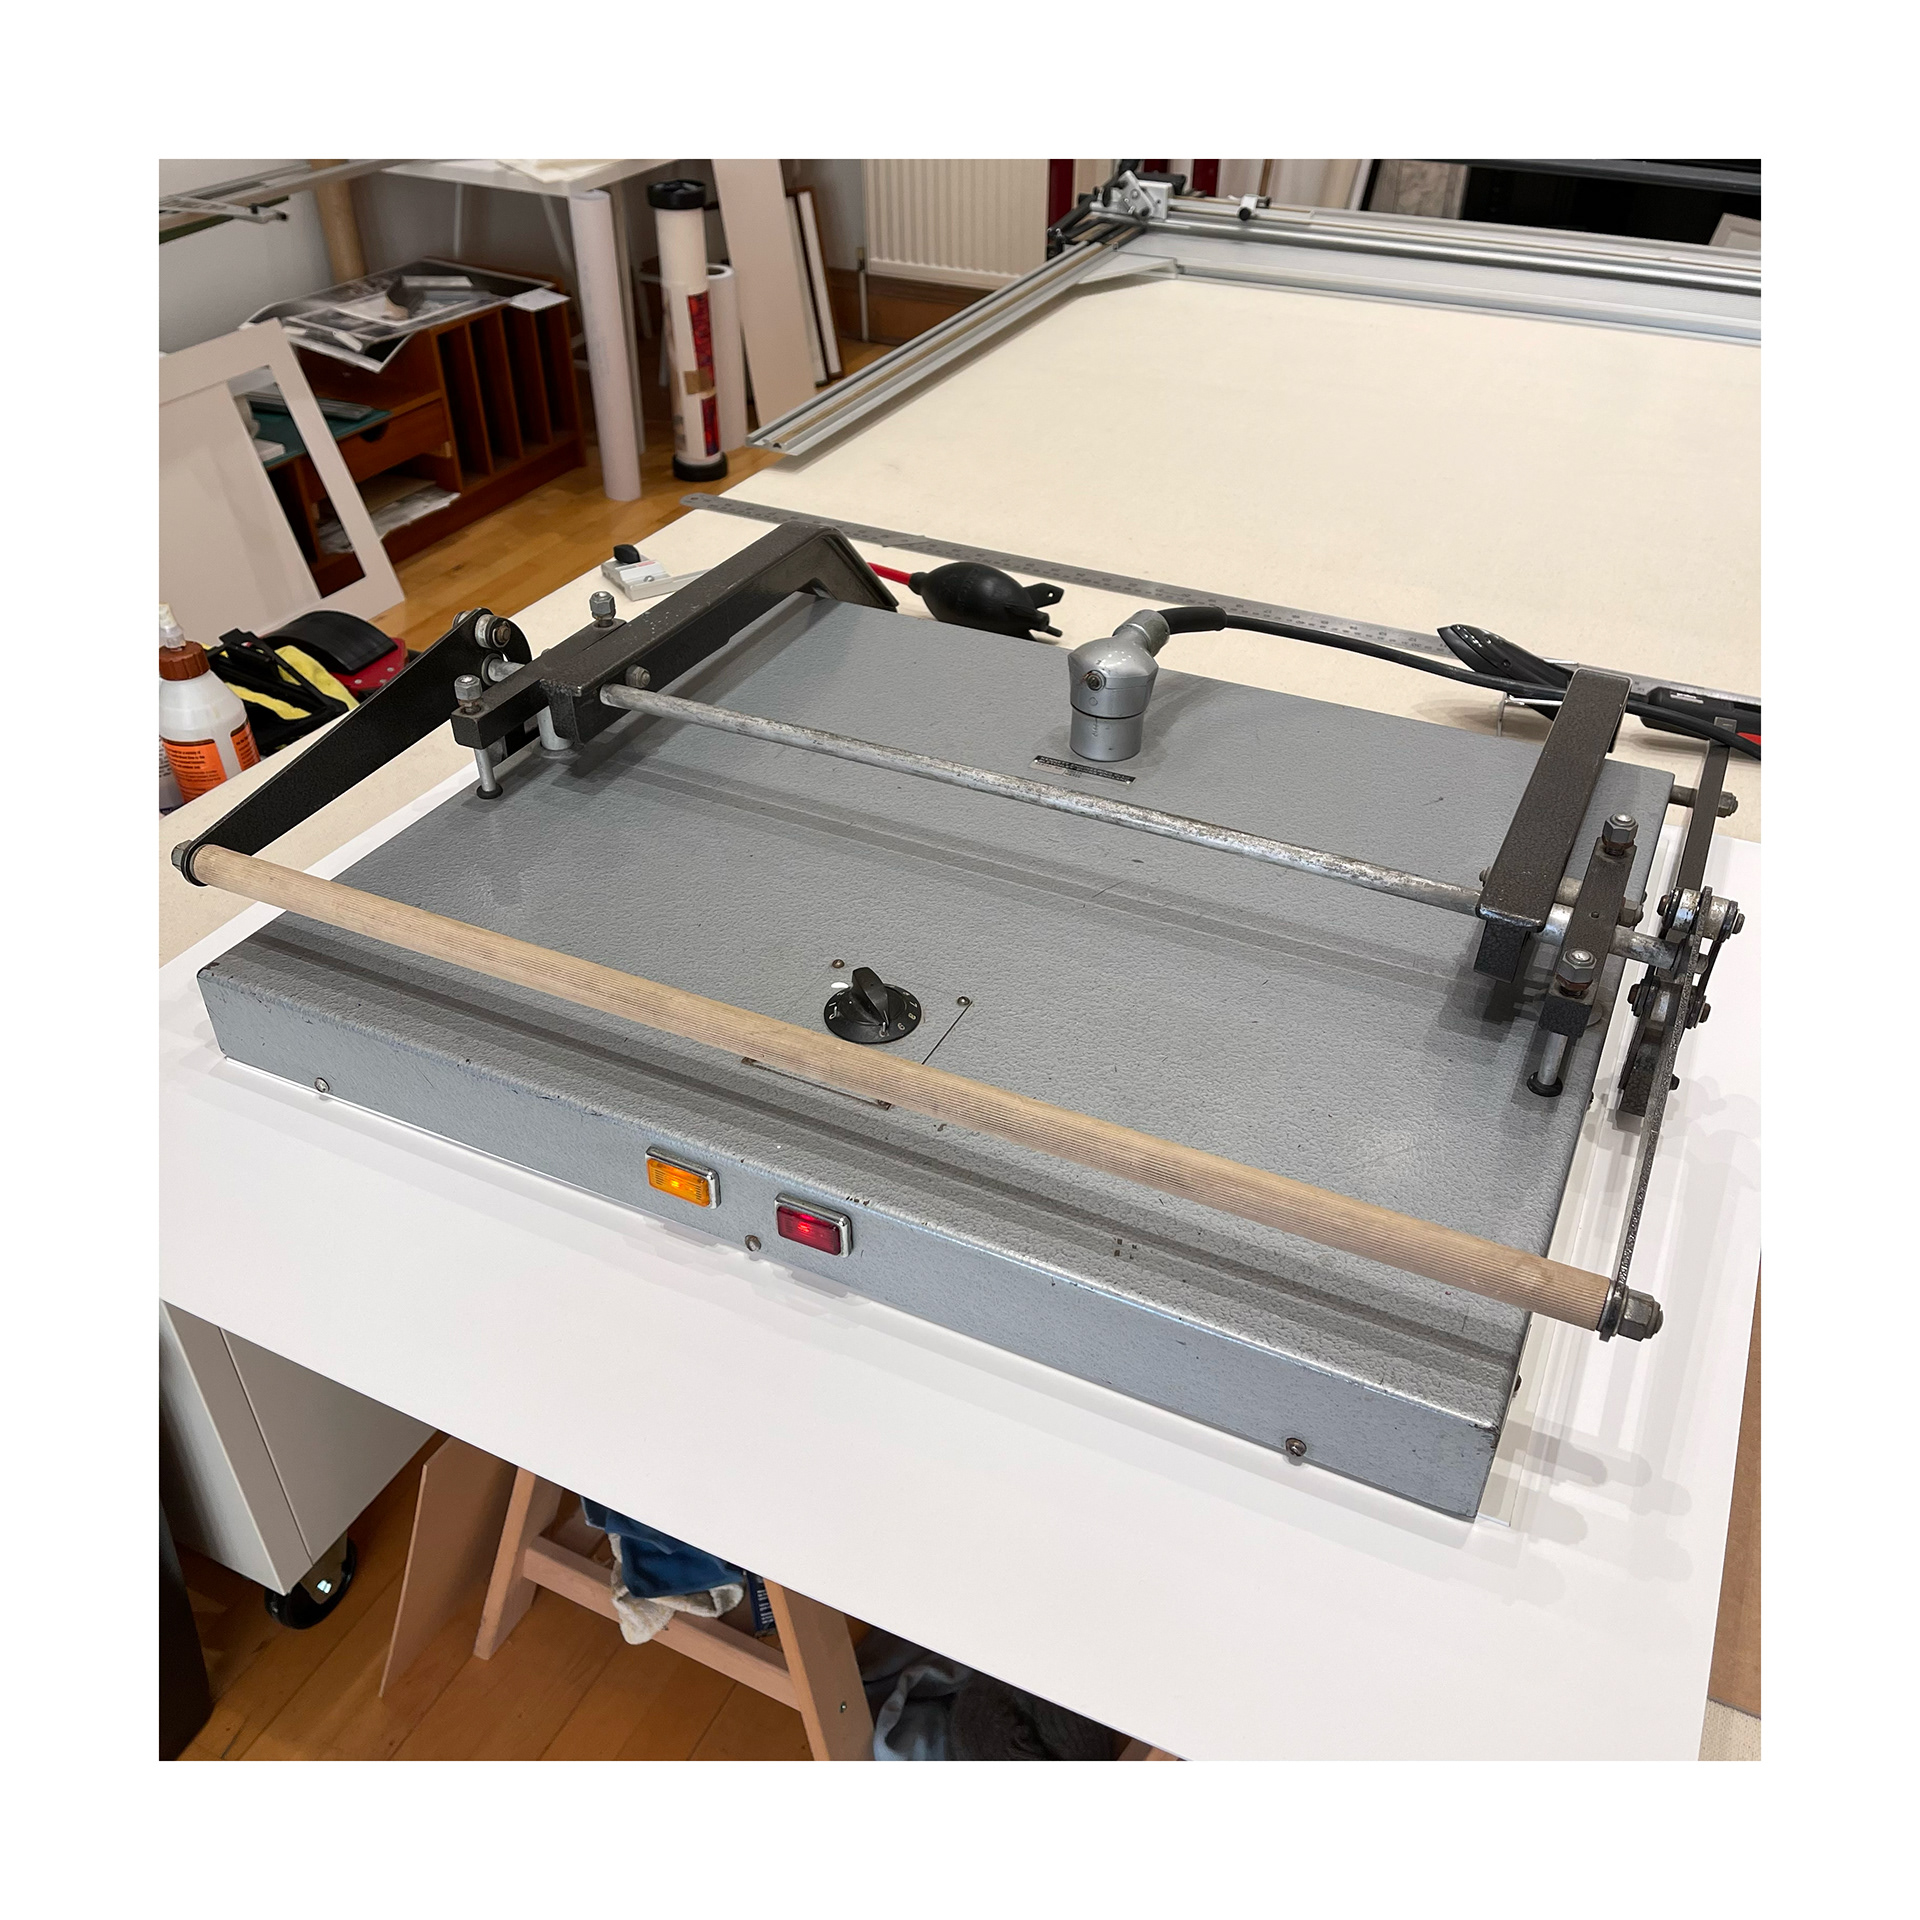
The print is then put into the Heat Press with a piece of clean mount board on top and heat is applied for around 2 minutes.
Once heat pressed, the print is bonded to the mount board. It is permanent and archival...